Getting Started
Everything you need to know to start using Roof
Everything you need to know to start using Roof
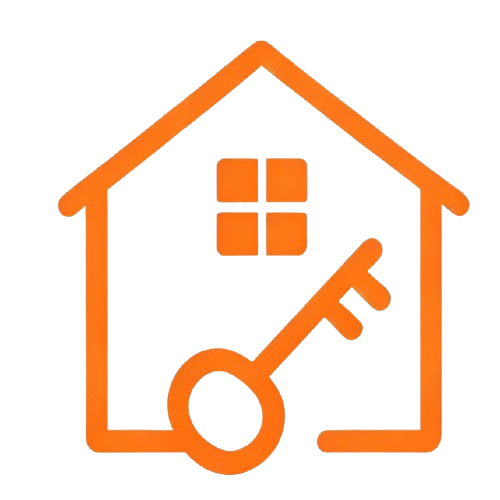
Download the Roof app and sign up using your email. Select "Landlord" as your role during registration.
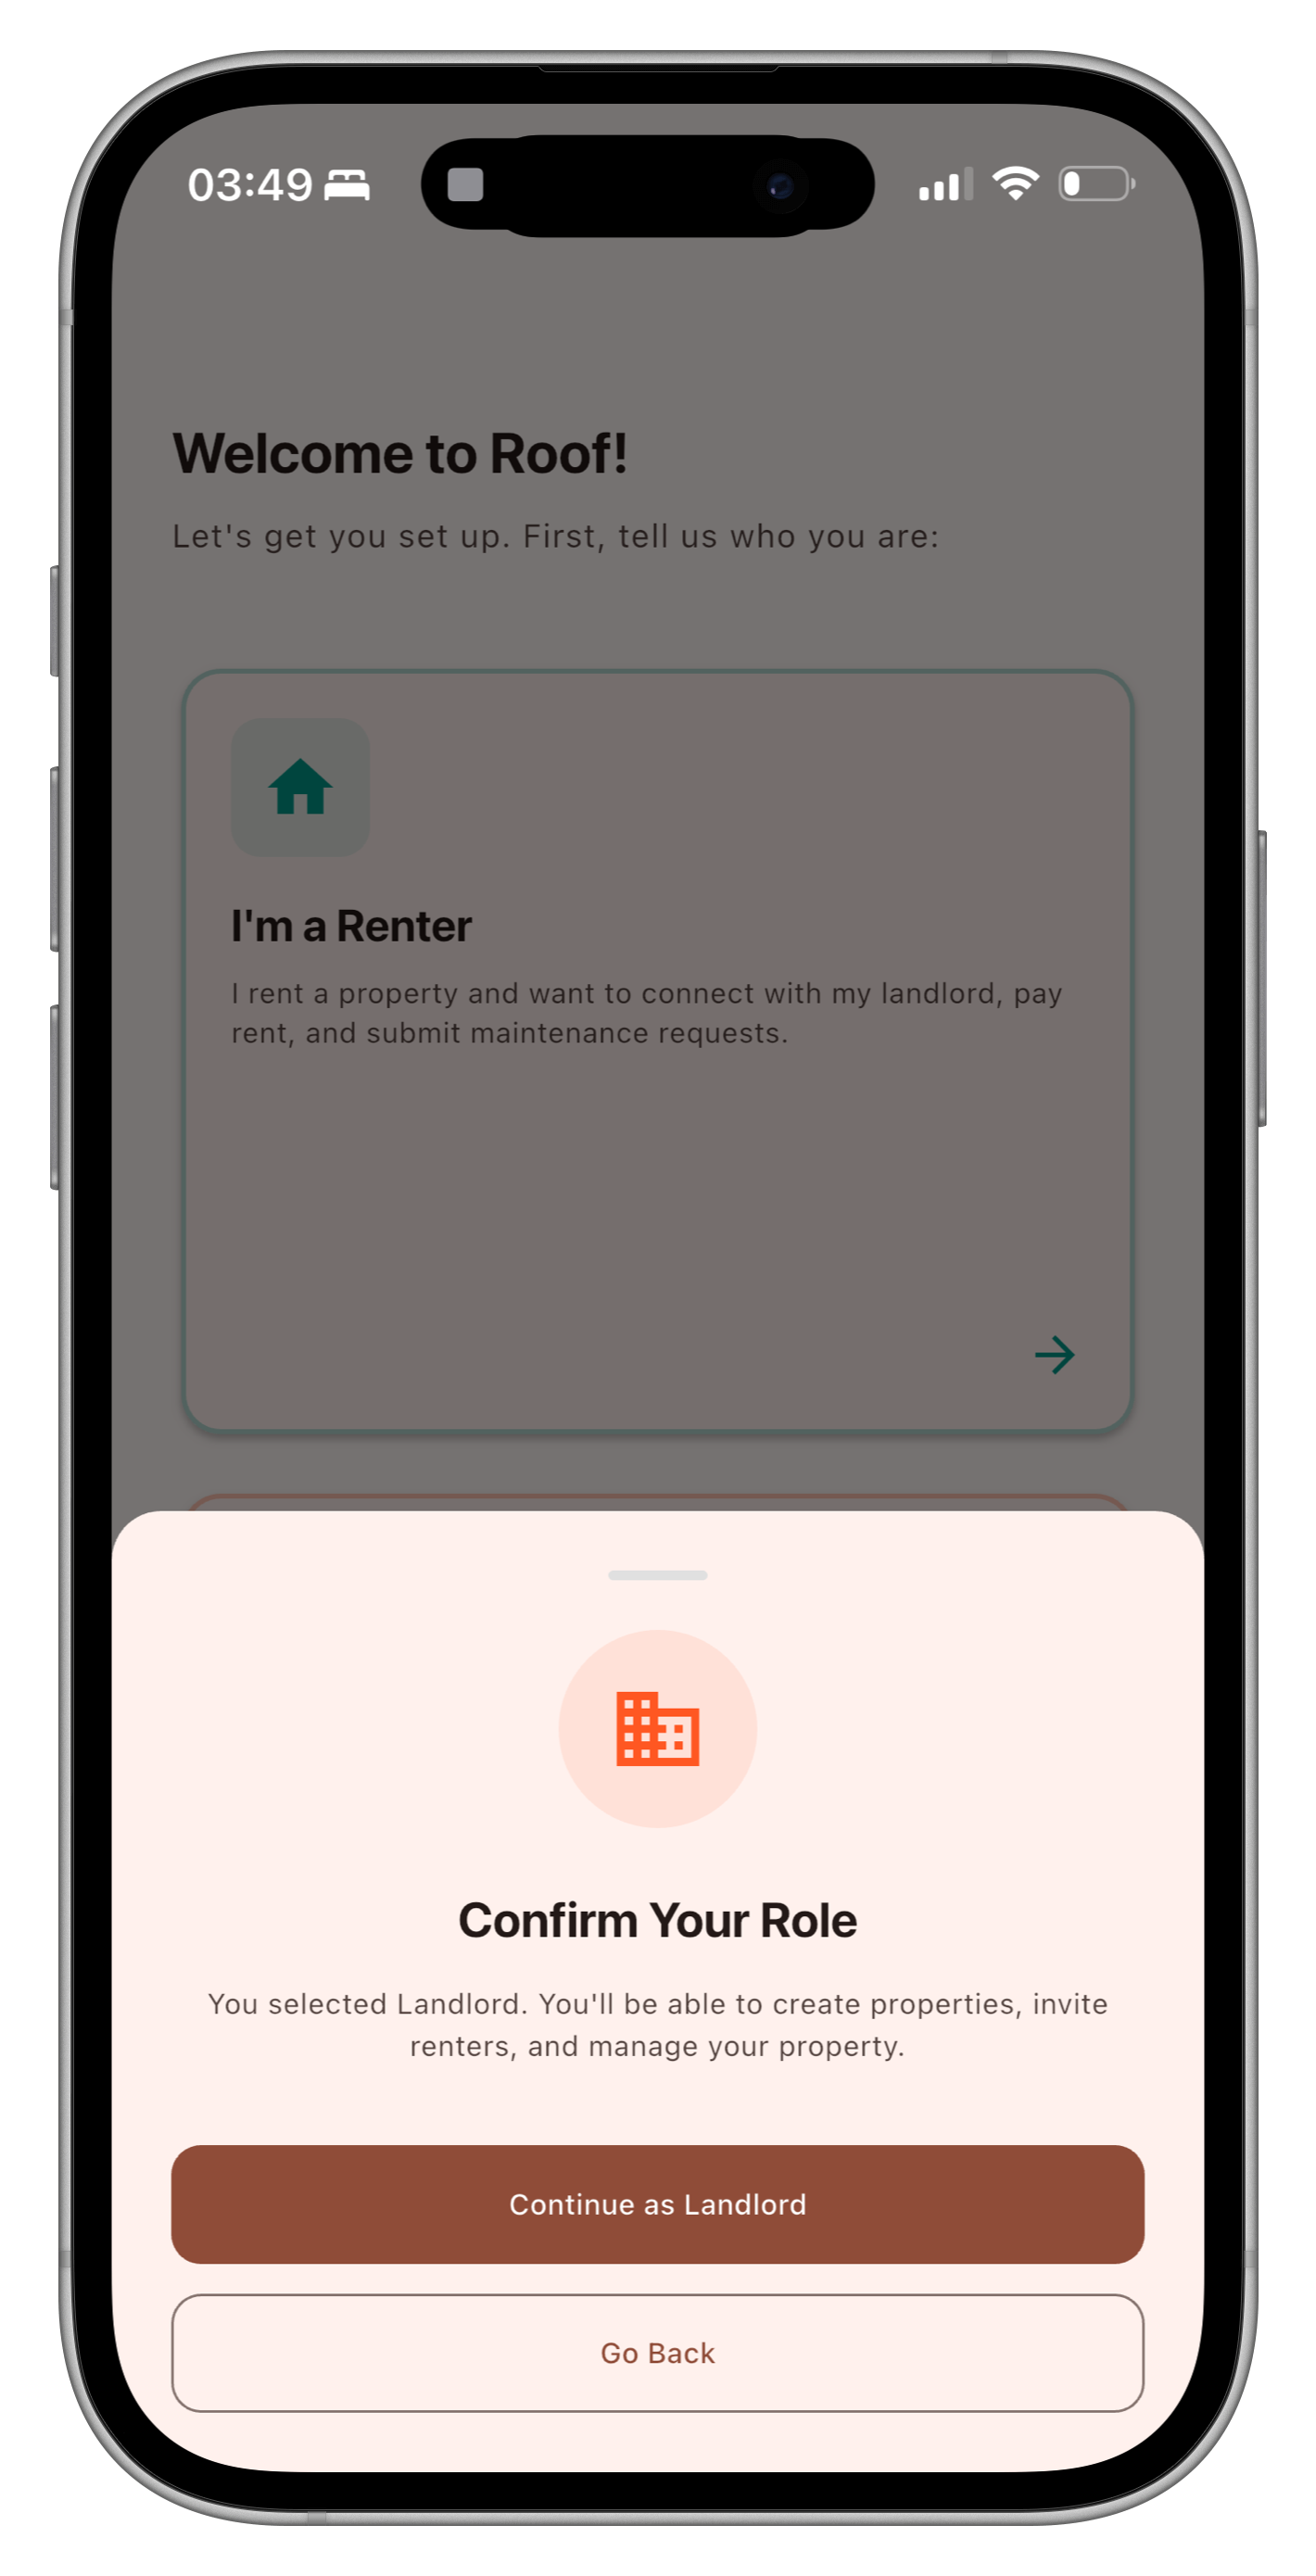
Tap the "+" button on your home screen to add a property. Include details like address, photos, and rental terms.
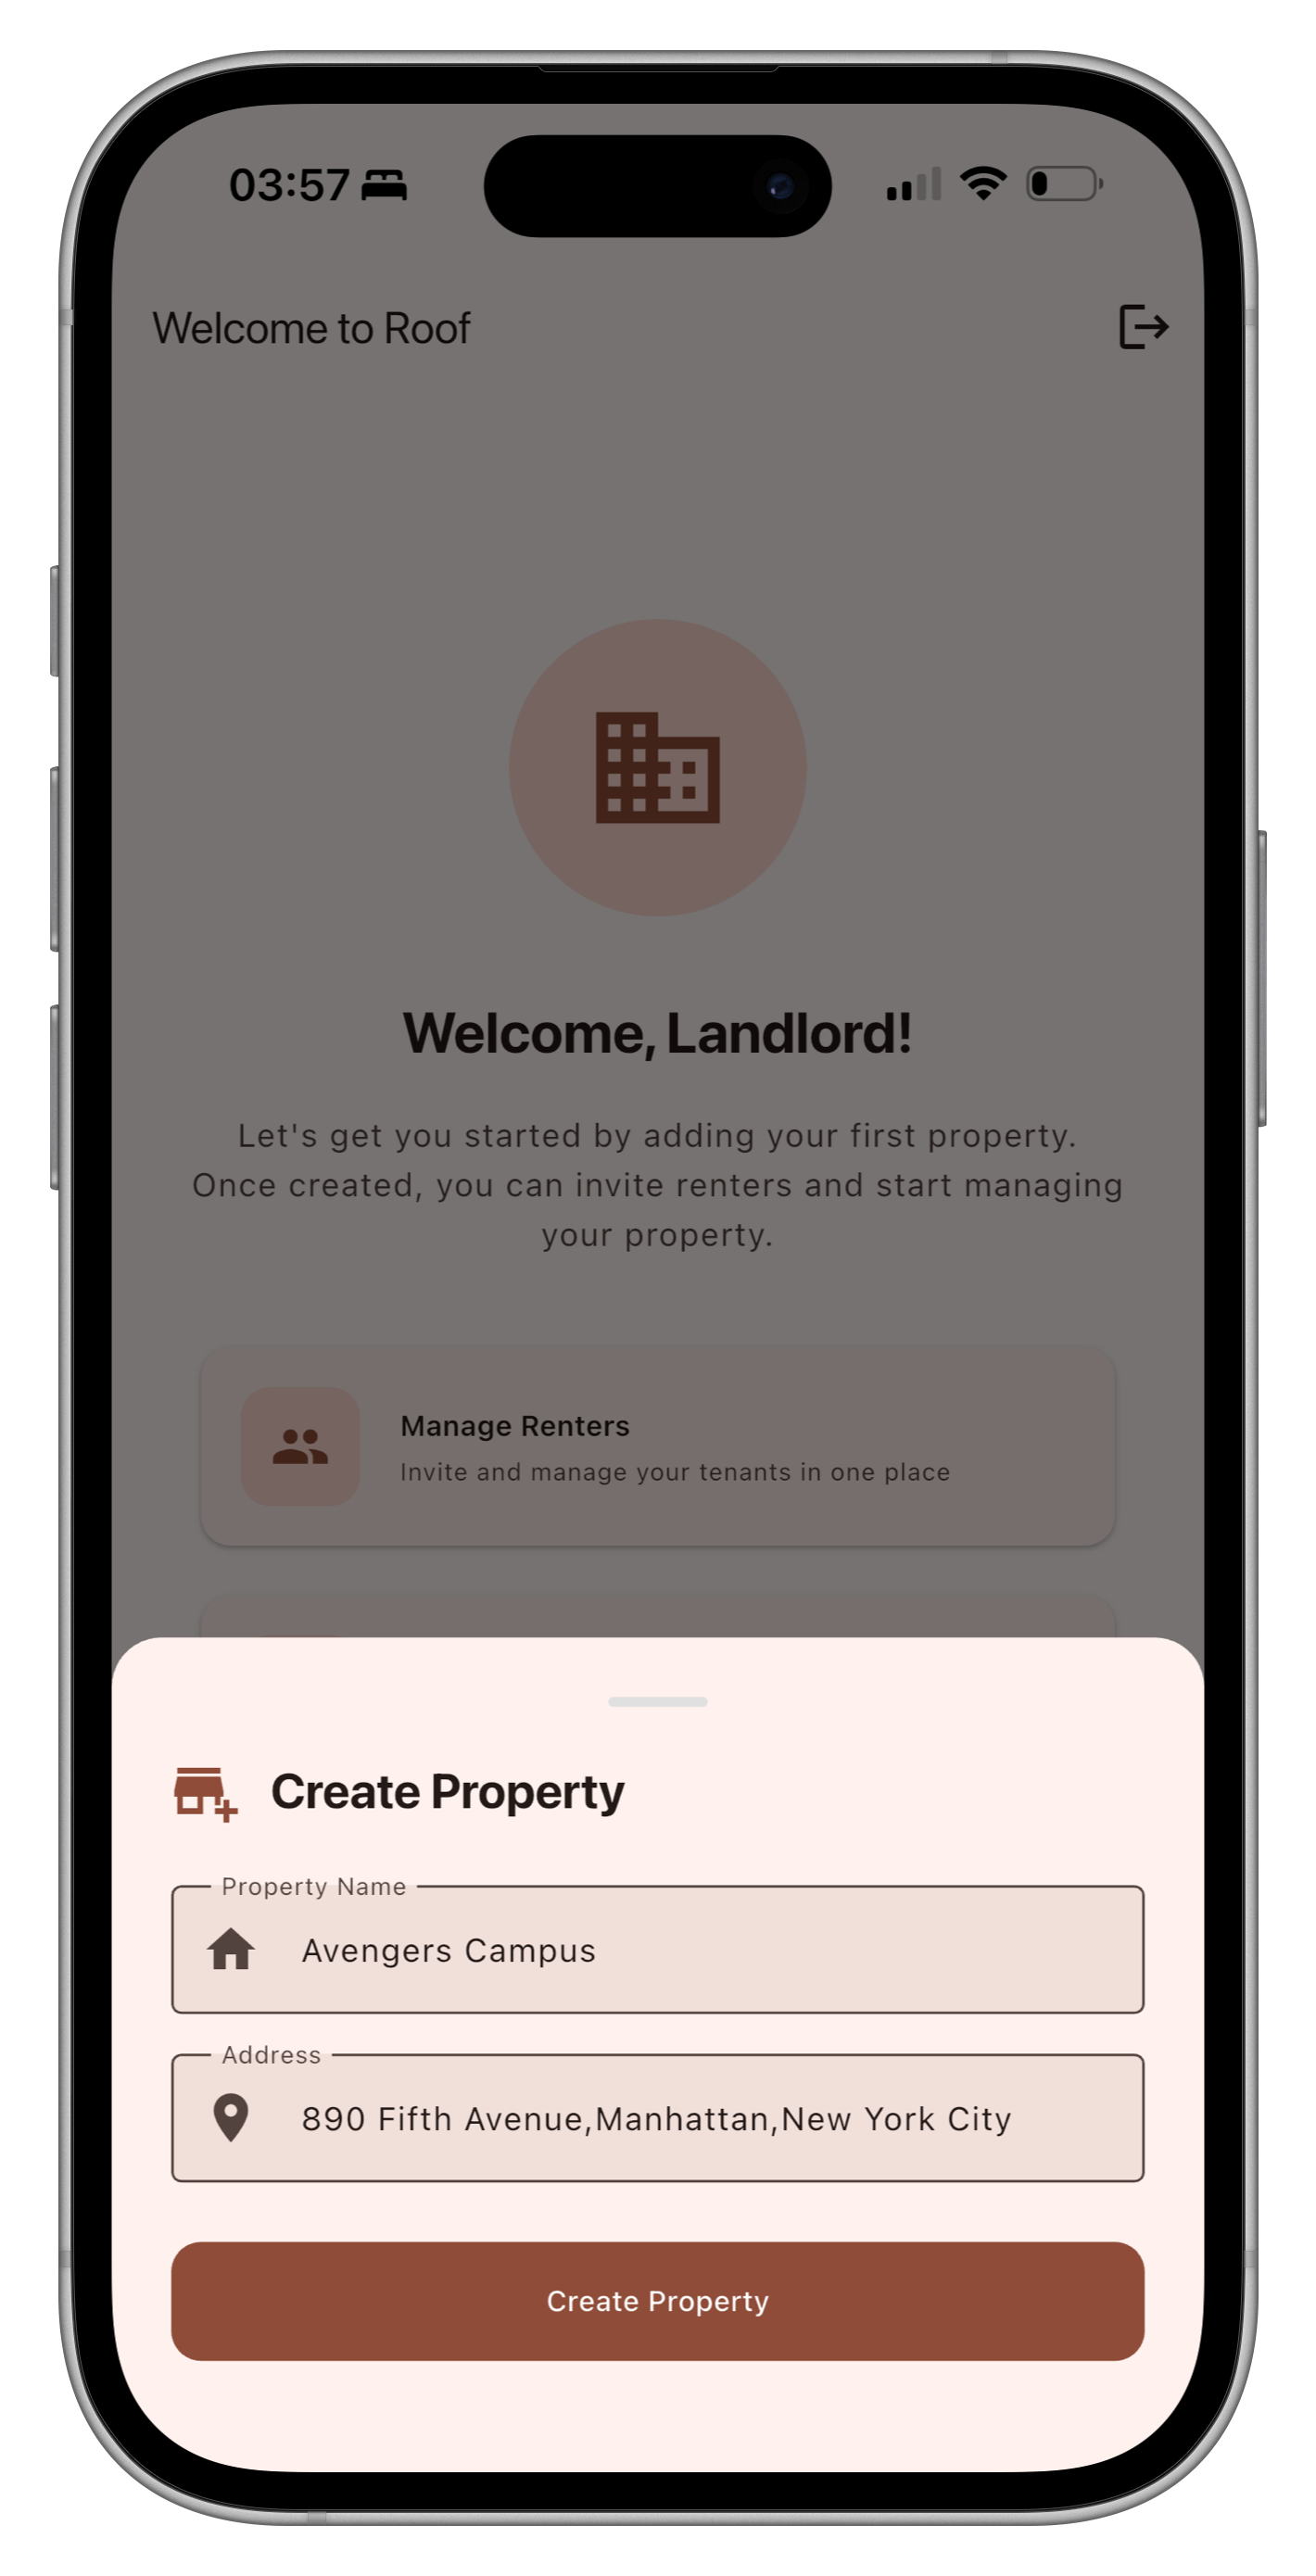
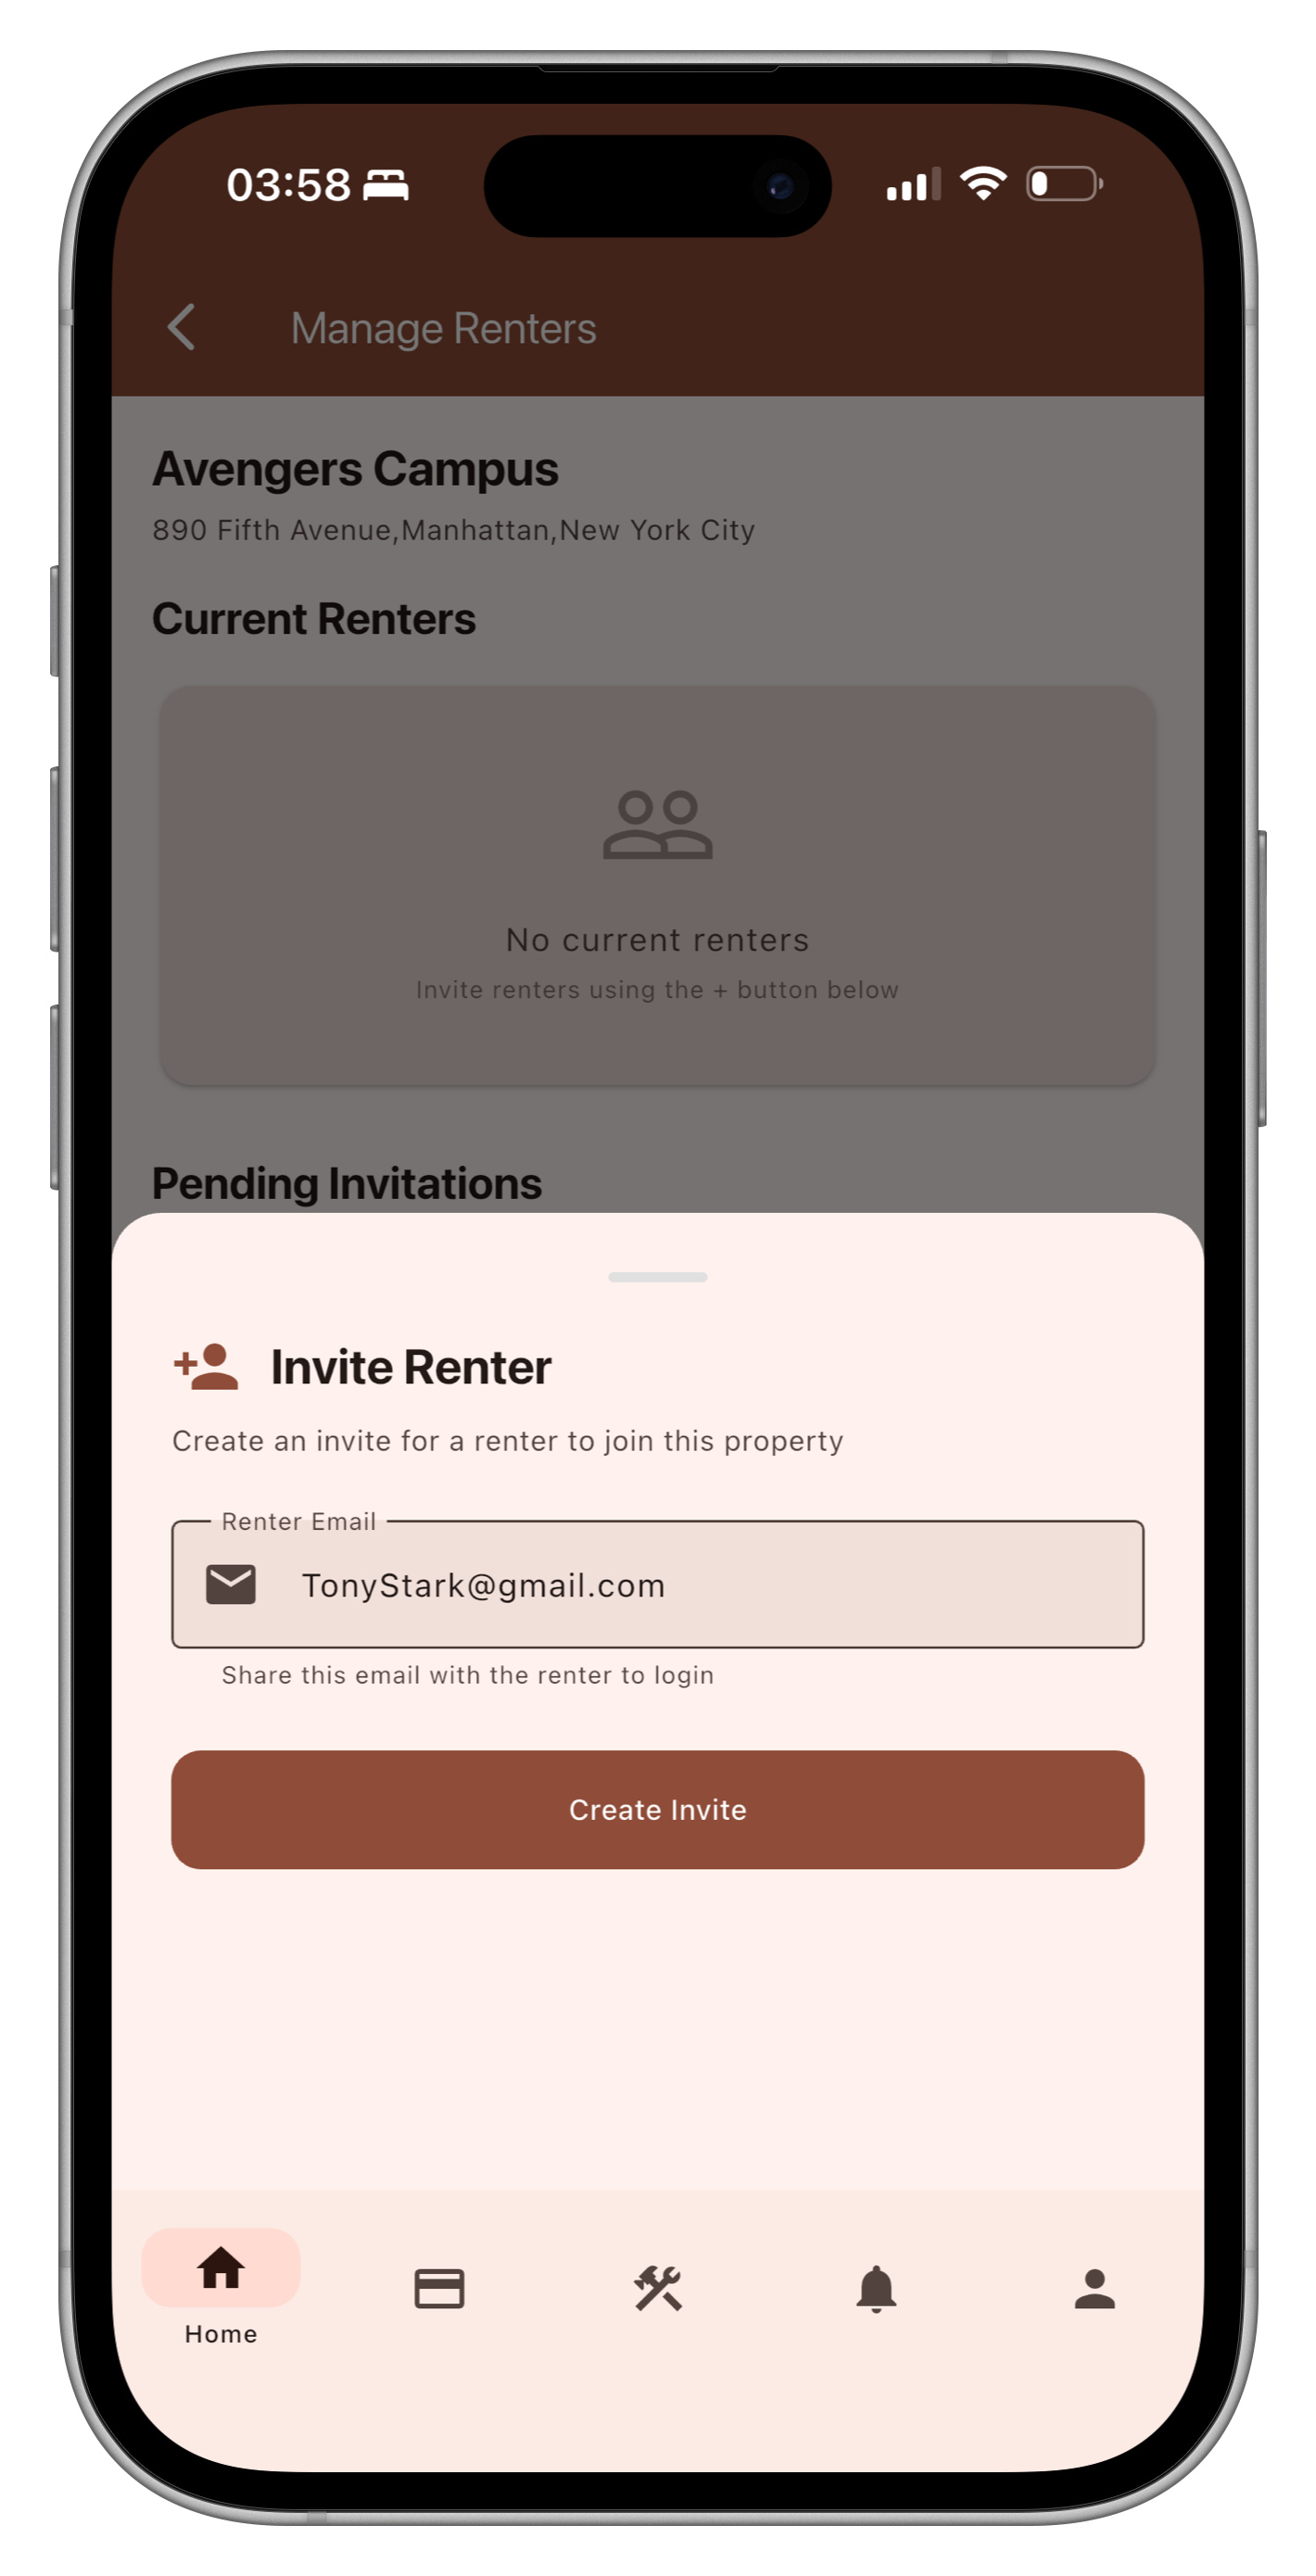
Add your tenants to each property. Once added, they can log in and start using the app immediately.
Navigate to the Payments tab to view all rent transactions. You'll see payment history, upcoming due dates, and any overdue payments.

When tenants submit maintenance requests, you'll receive a notification. View photos, add notes, and update the status as you work on repairs.

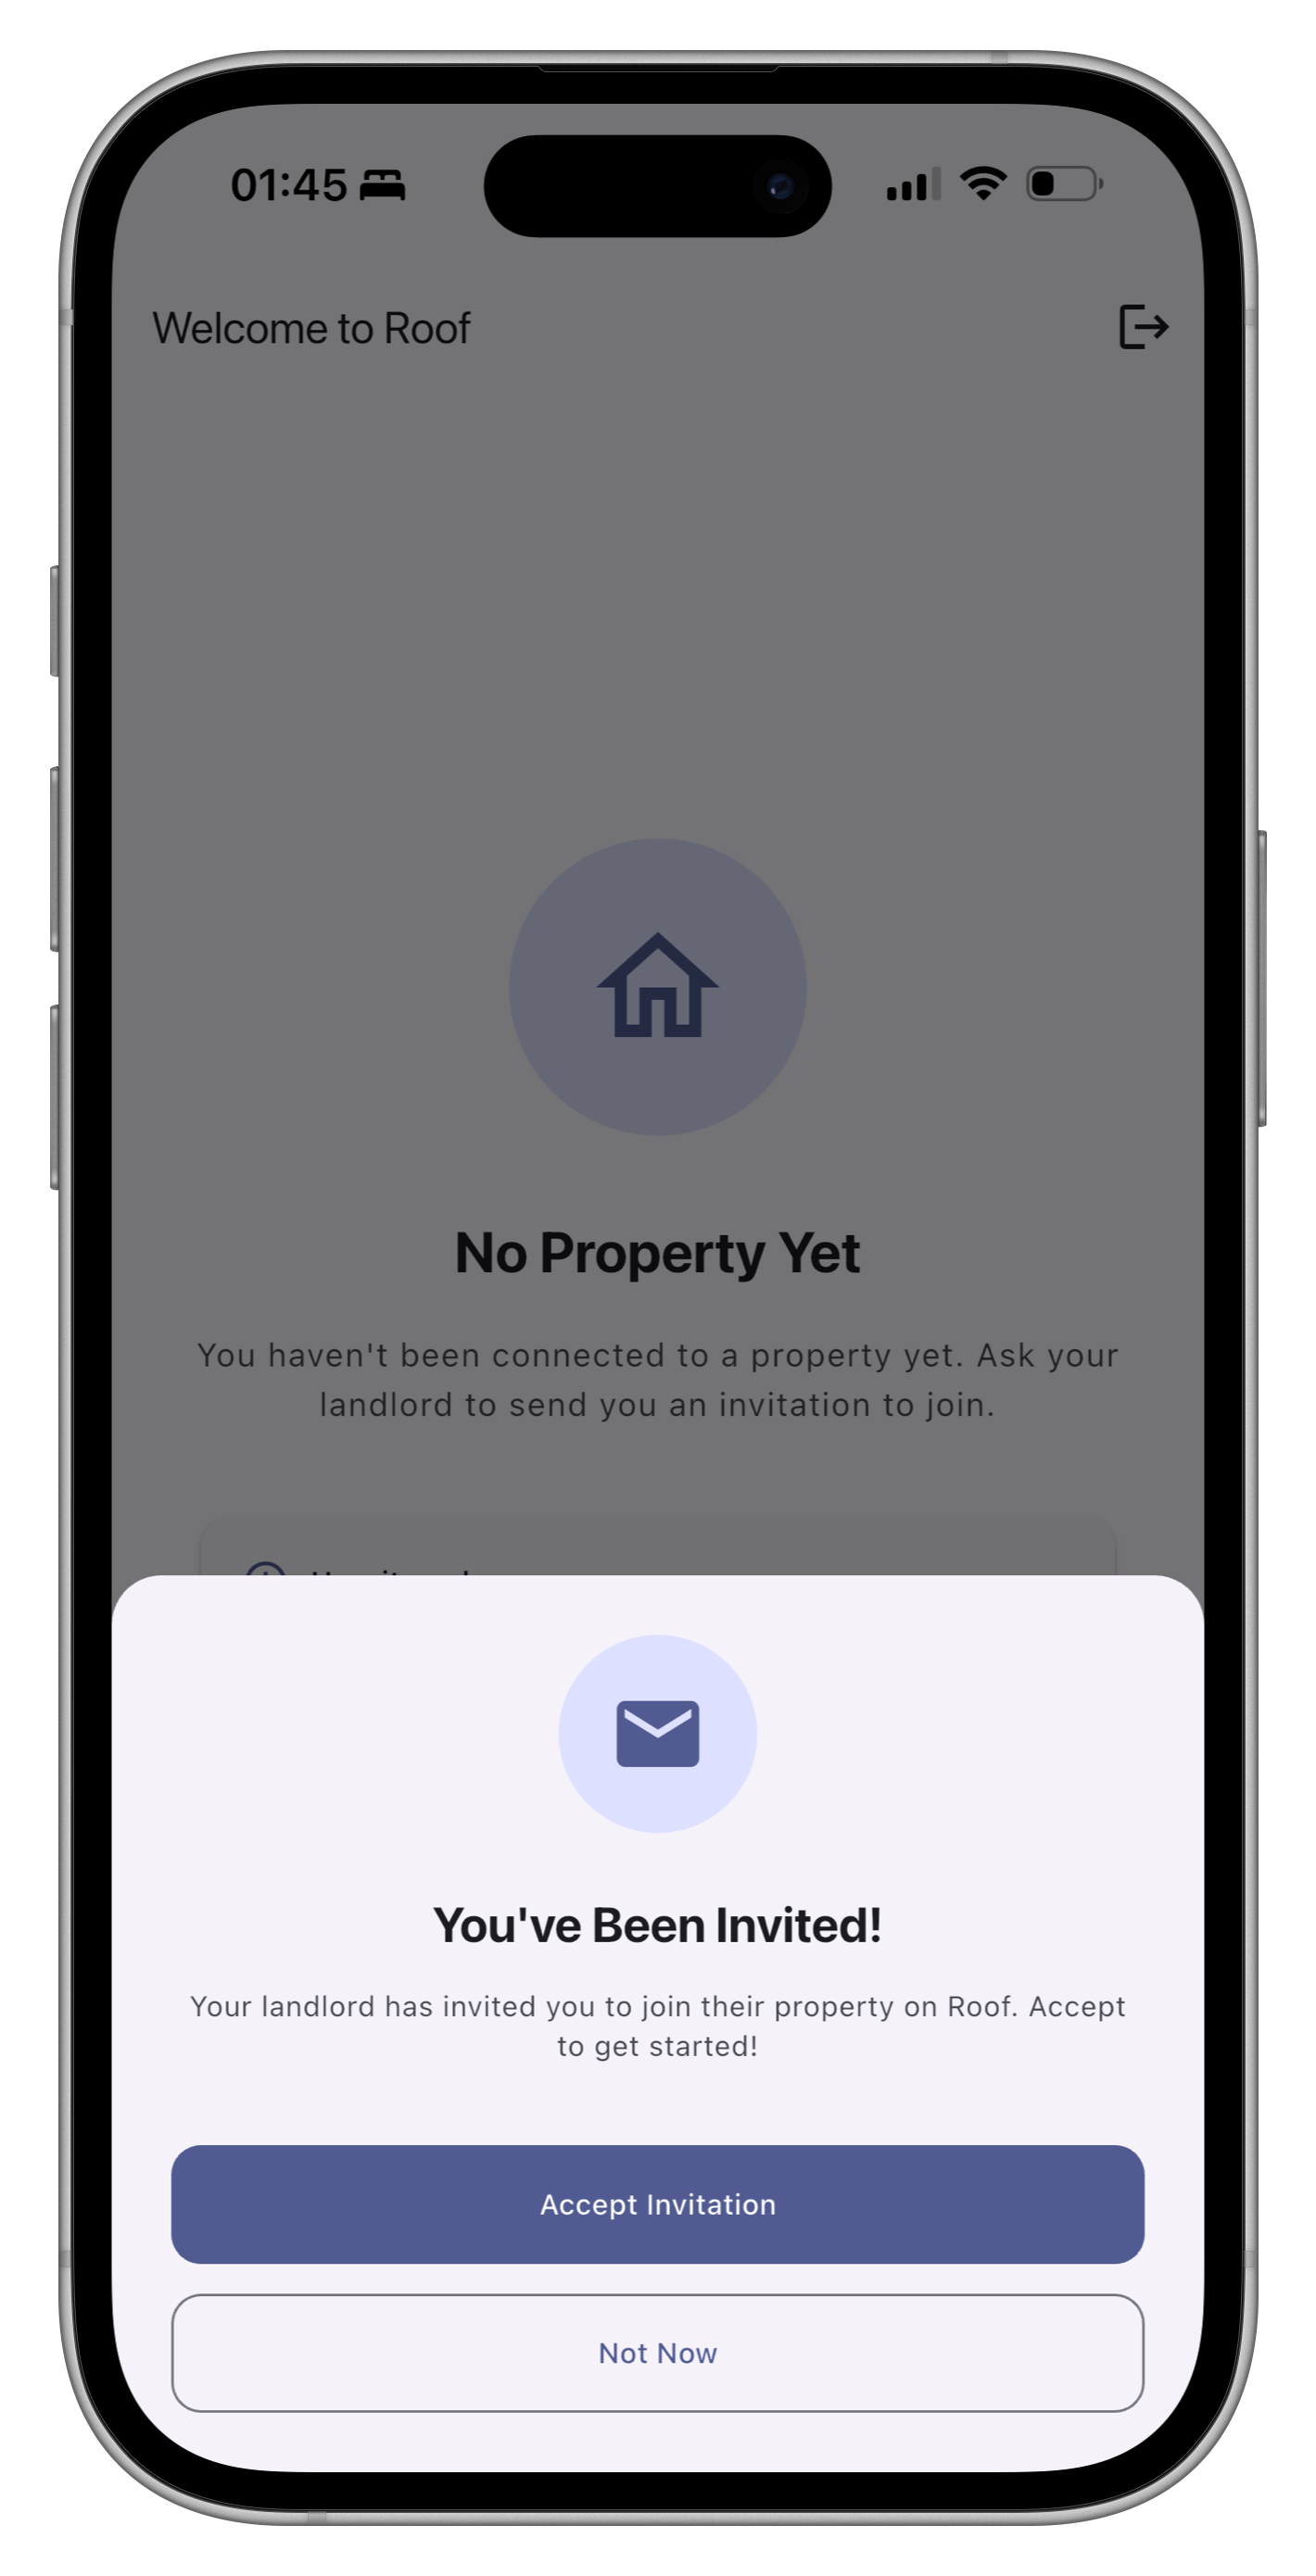
Download the Roof app and create your account. Once your landlord has added you, simply log in to see your property.
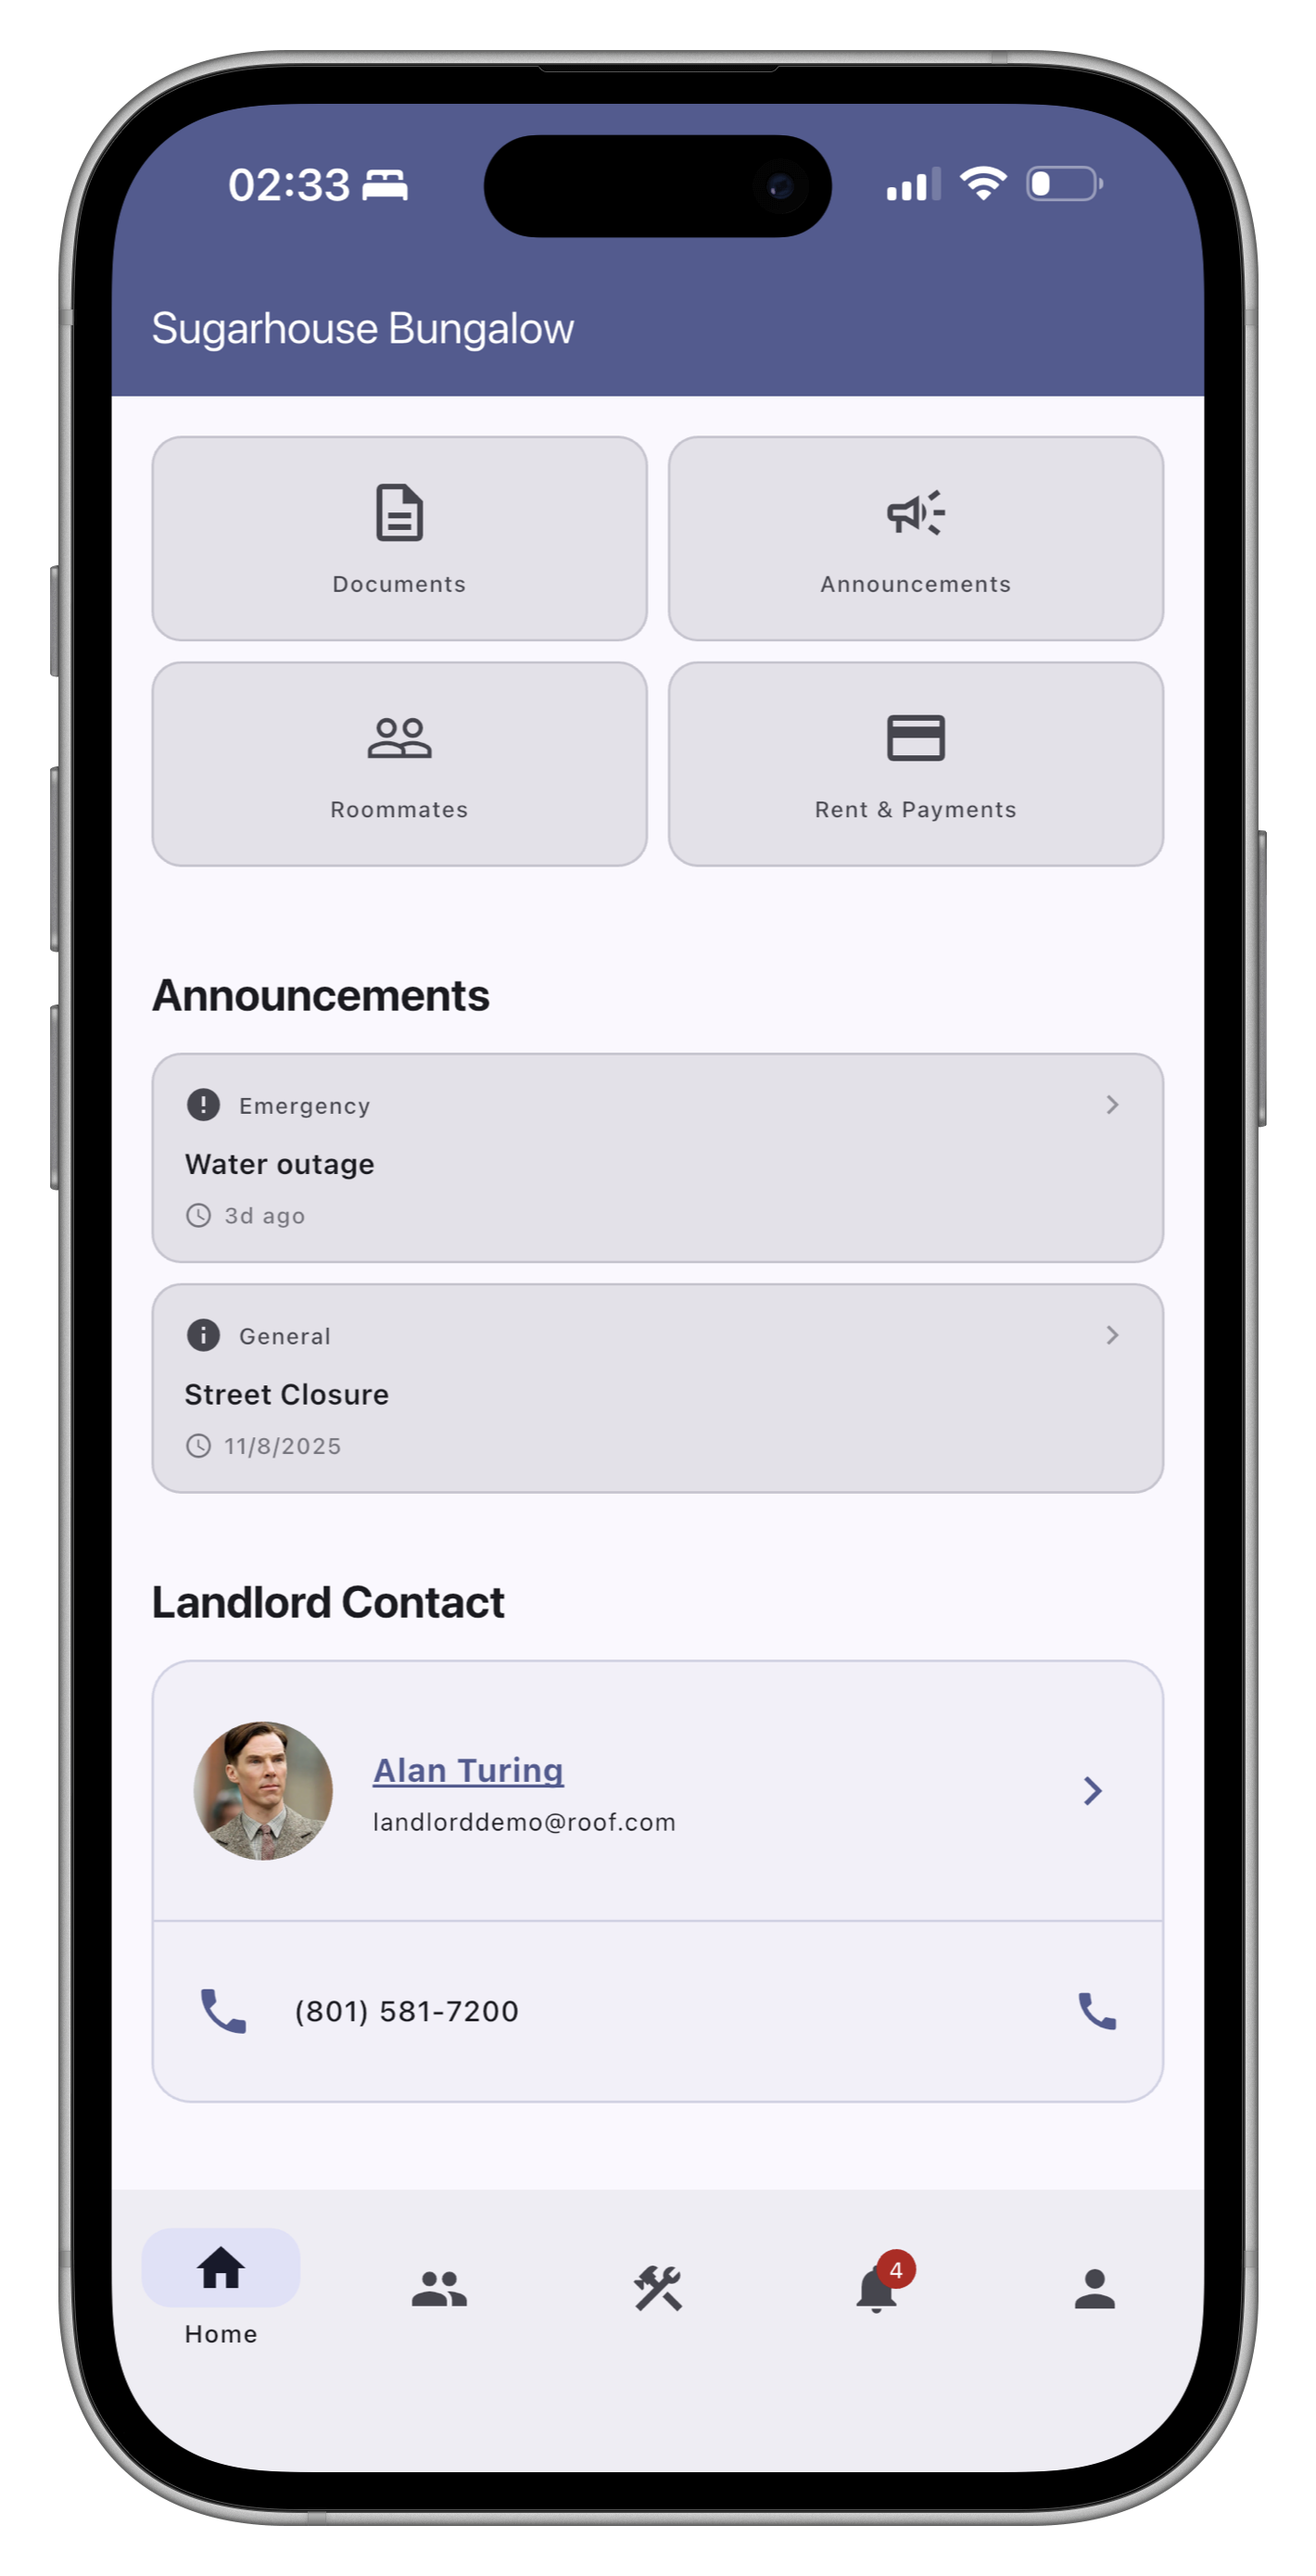
On your home screen, you'll see your property information, upcoming rent due date, and recent updates.
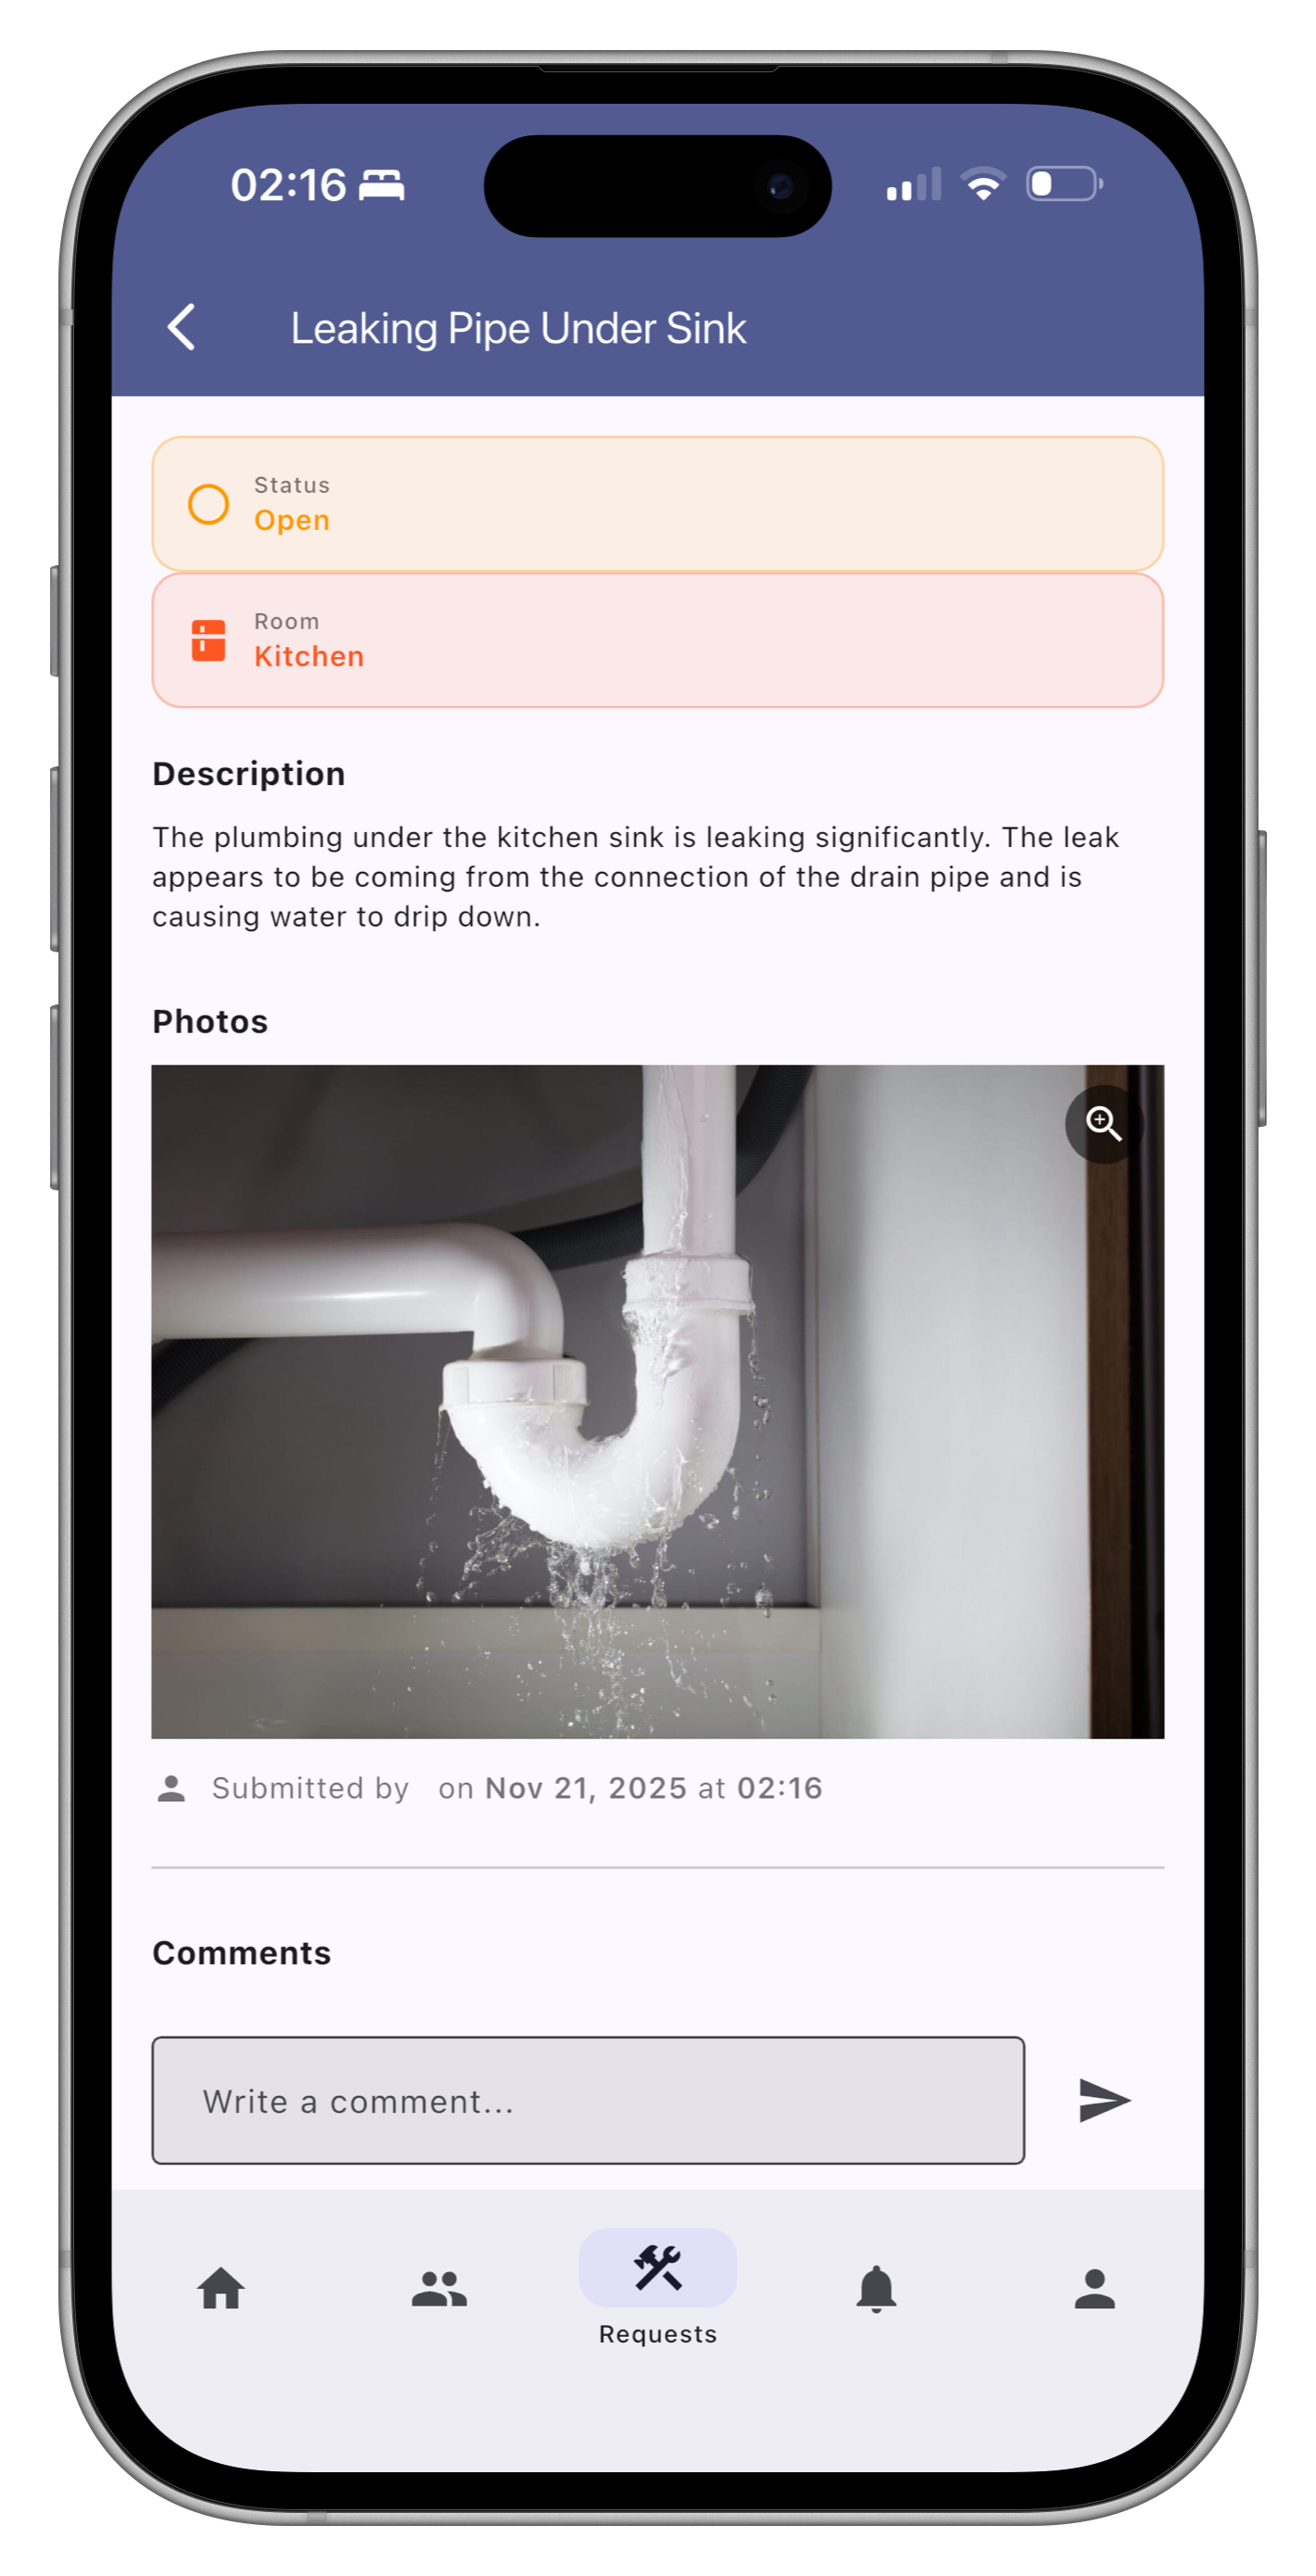
Need something fixed? Navigate to the Maintenance tab and create a new request. Describe the issue, add photos, and submit.

All your maintenance requests are saved in the Maintenance tab. You'll receive notifications when the status updates.
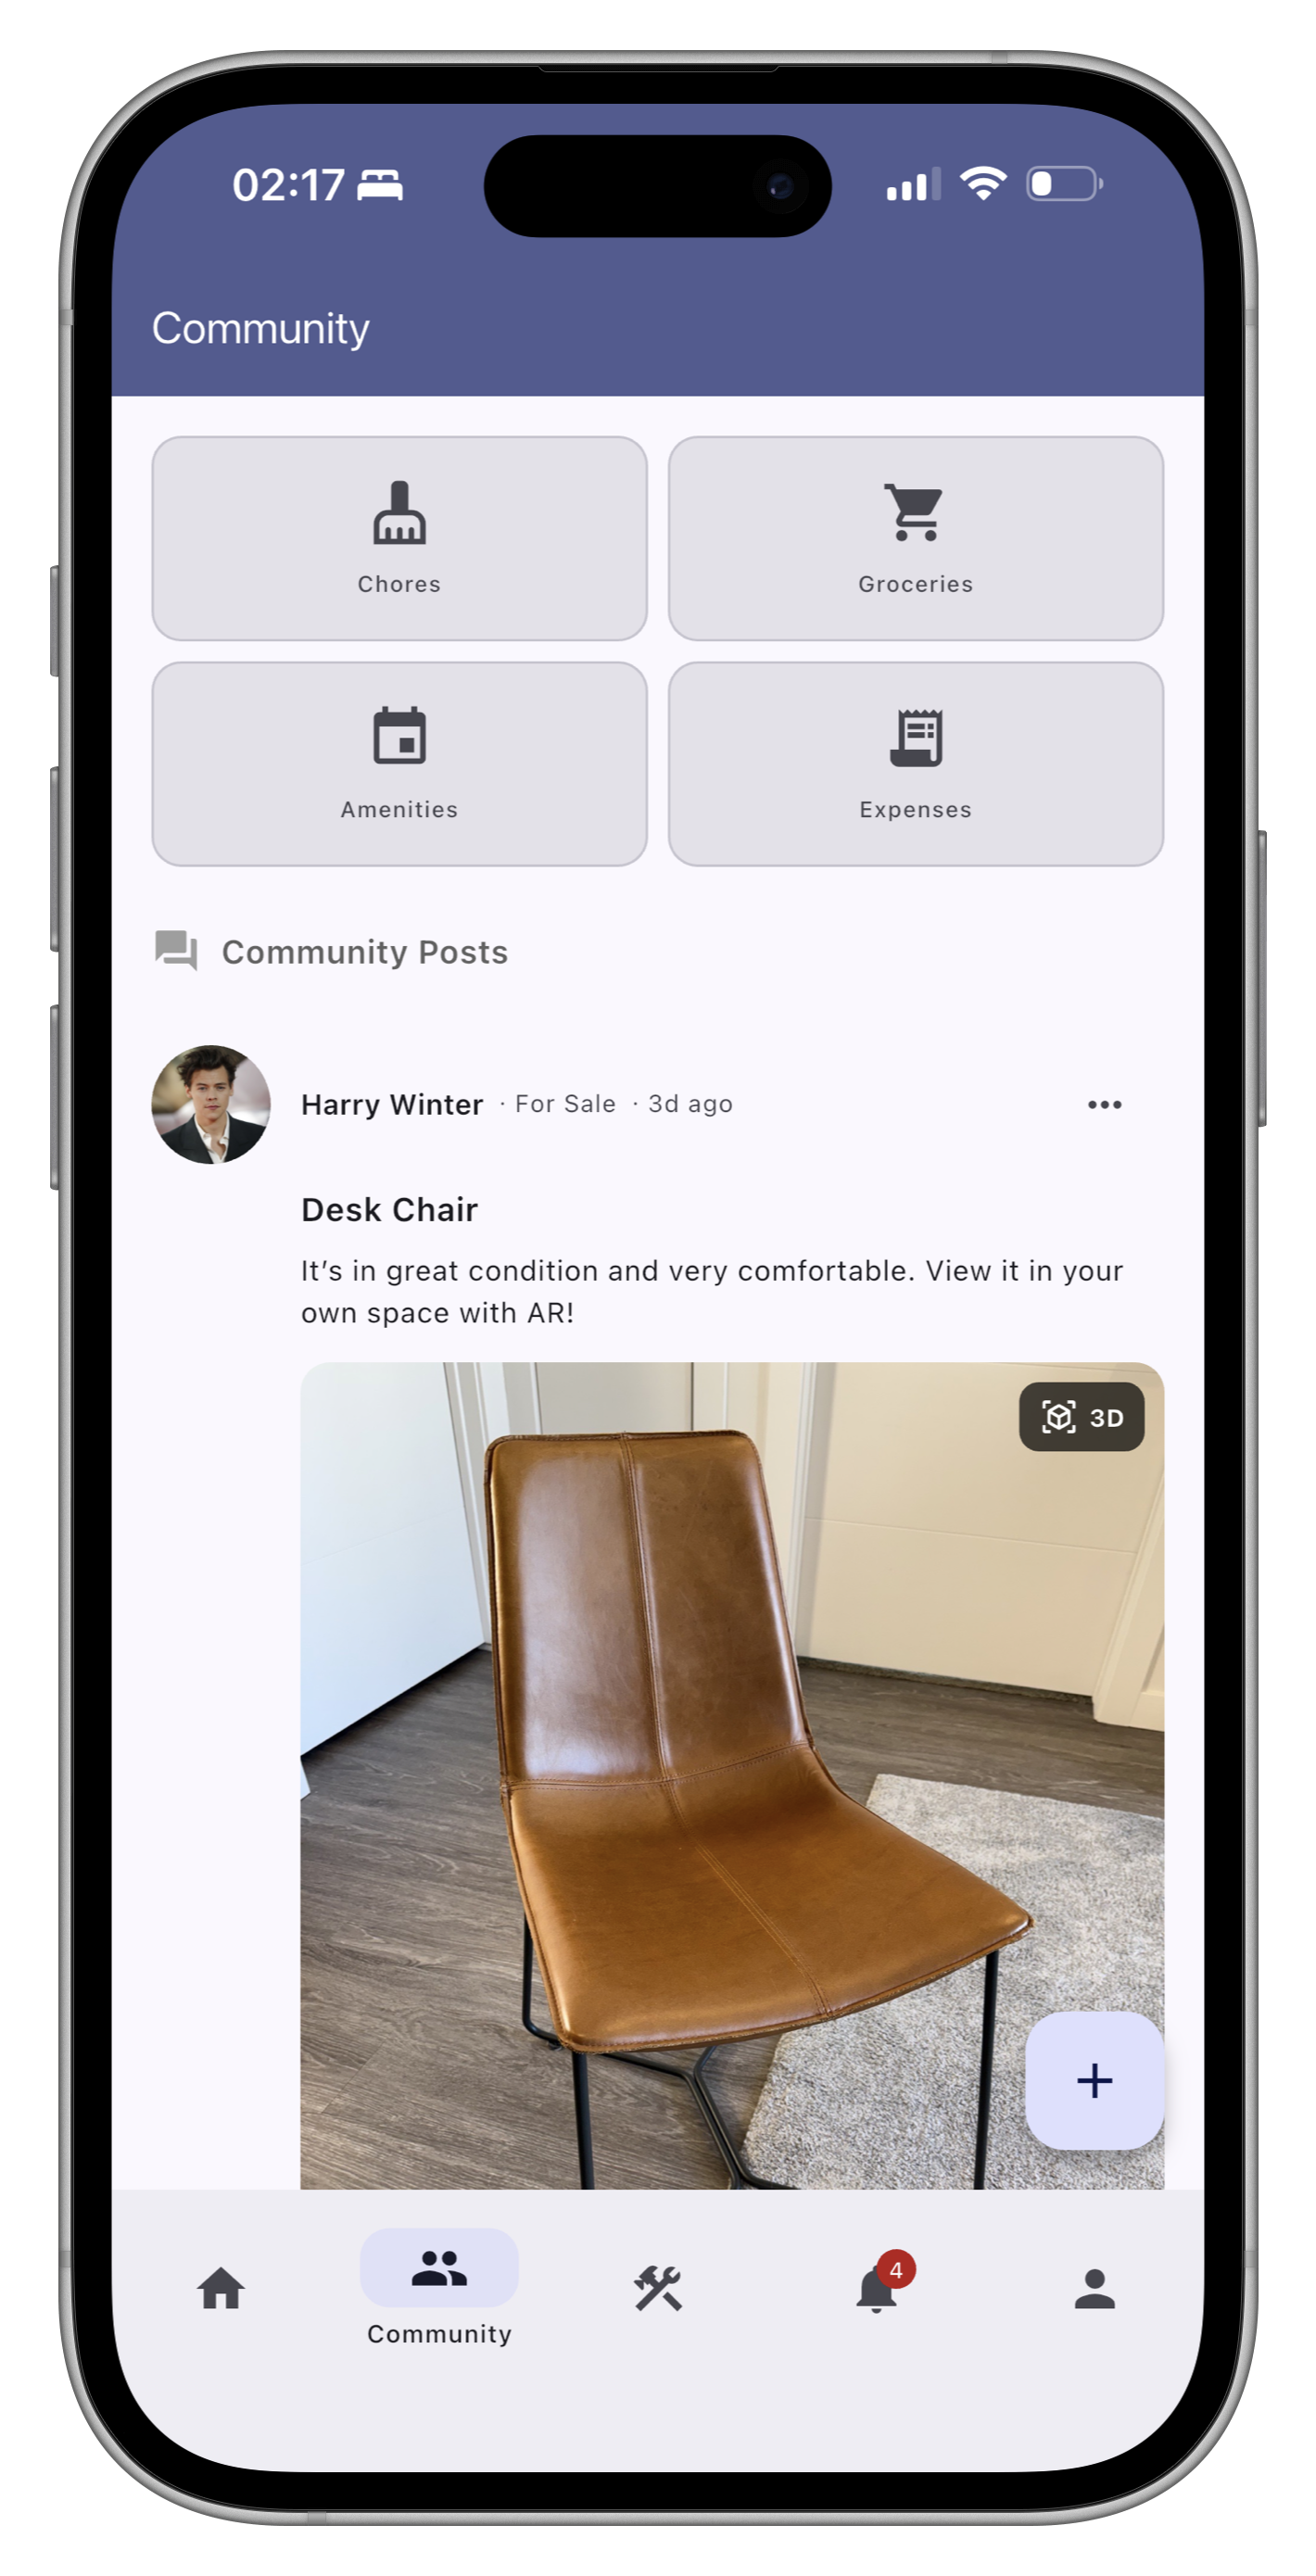
Use the Community tab to connect with other tenants and stay updated on property events.
To connect your Stripe account:
Tenants can pay rent using credit cards (Visa, Mastercard, American Express). All payments are processed securely through Stripe.
Currently, each account is tied to a single role (landlord or renter). If you need both roles, you can create a separate account with a different email address.
All maintenance requests go through these statuses:
Yes! When creating a maintenance request, you can add multiple photos to help describe the issue. This helps landlords understand the problem before visiting. You can take new photos or select existing ones from your camera roll.
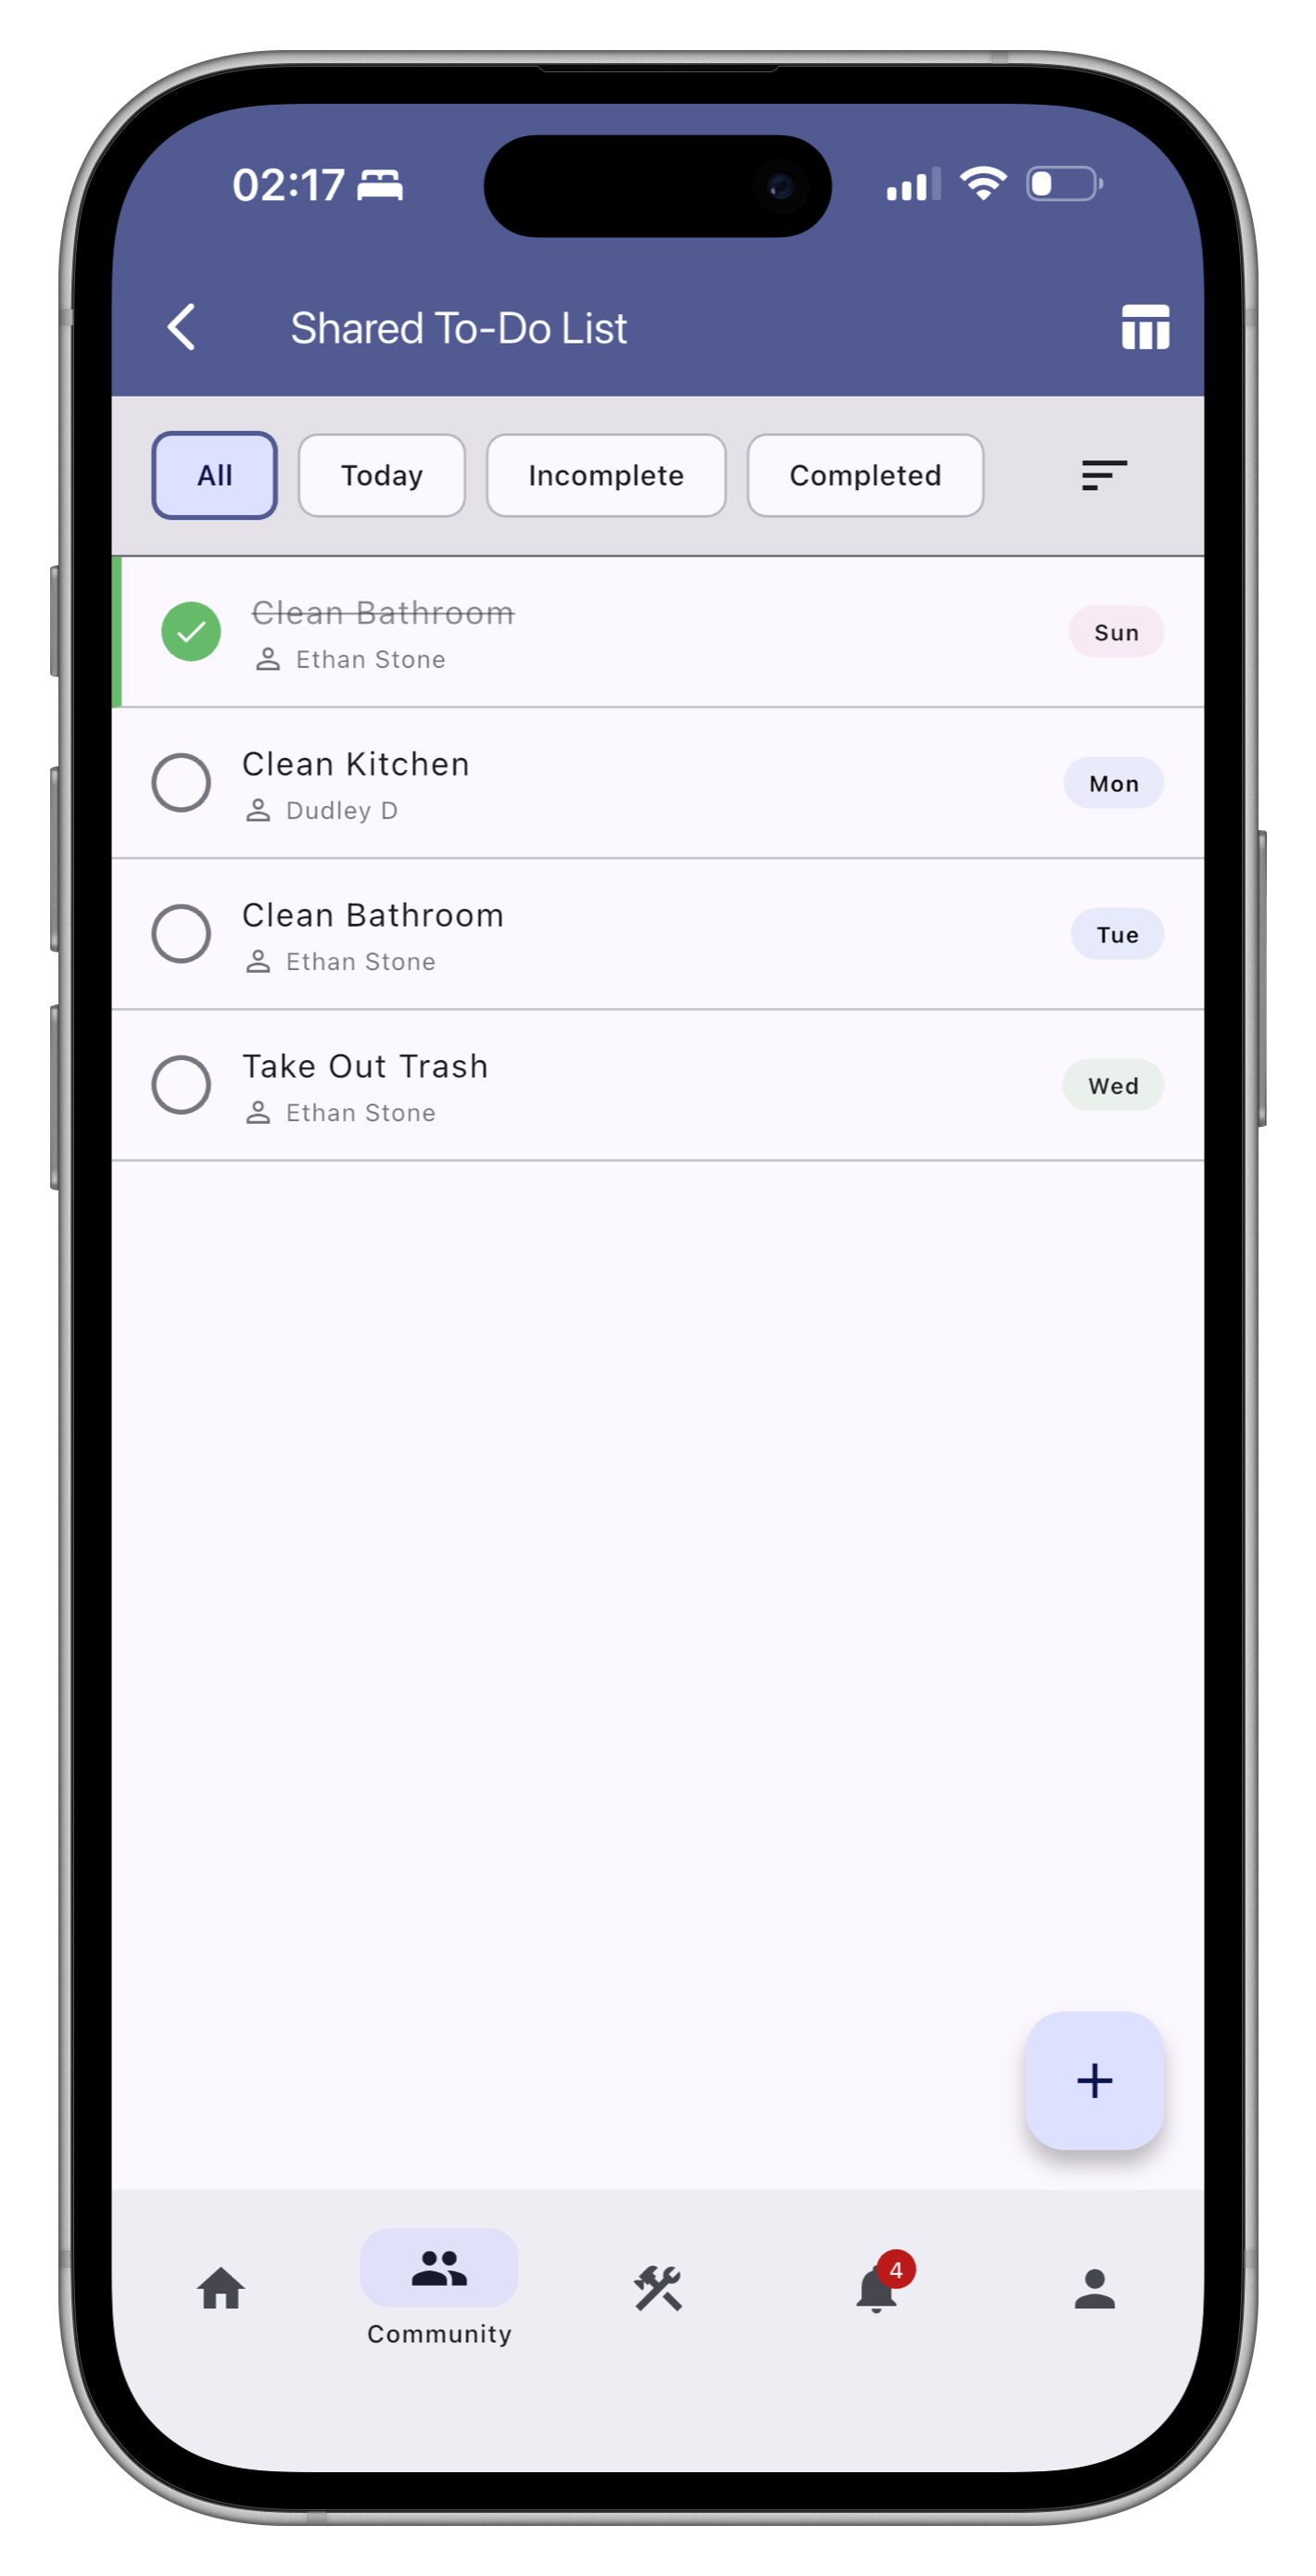
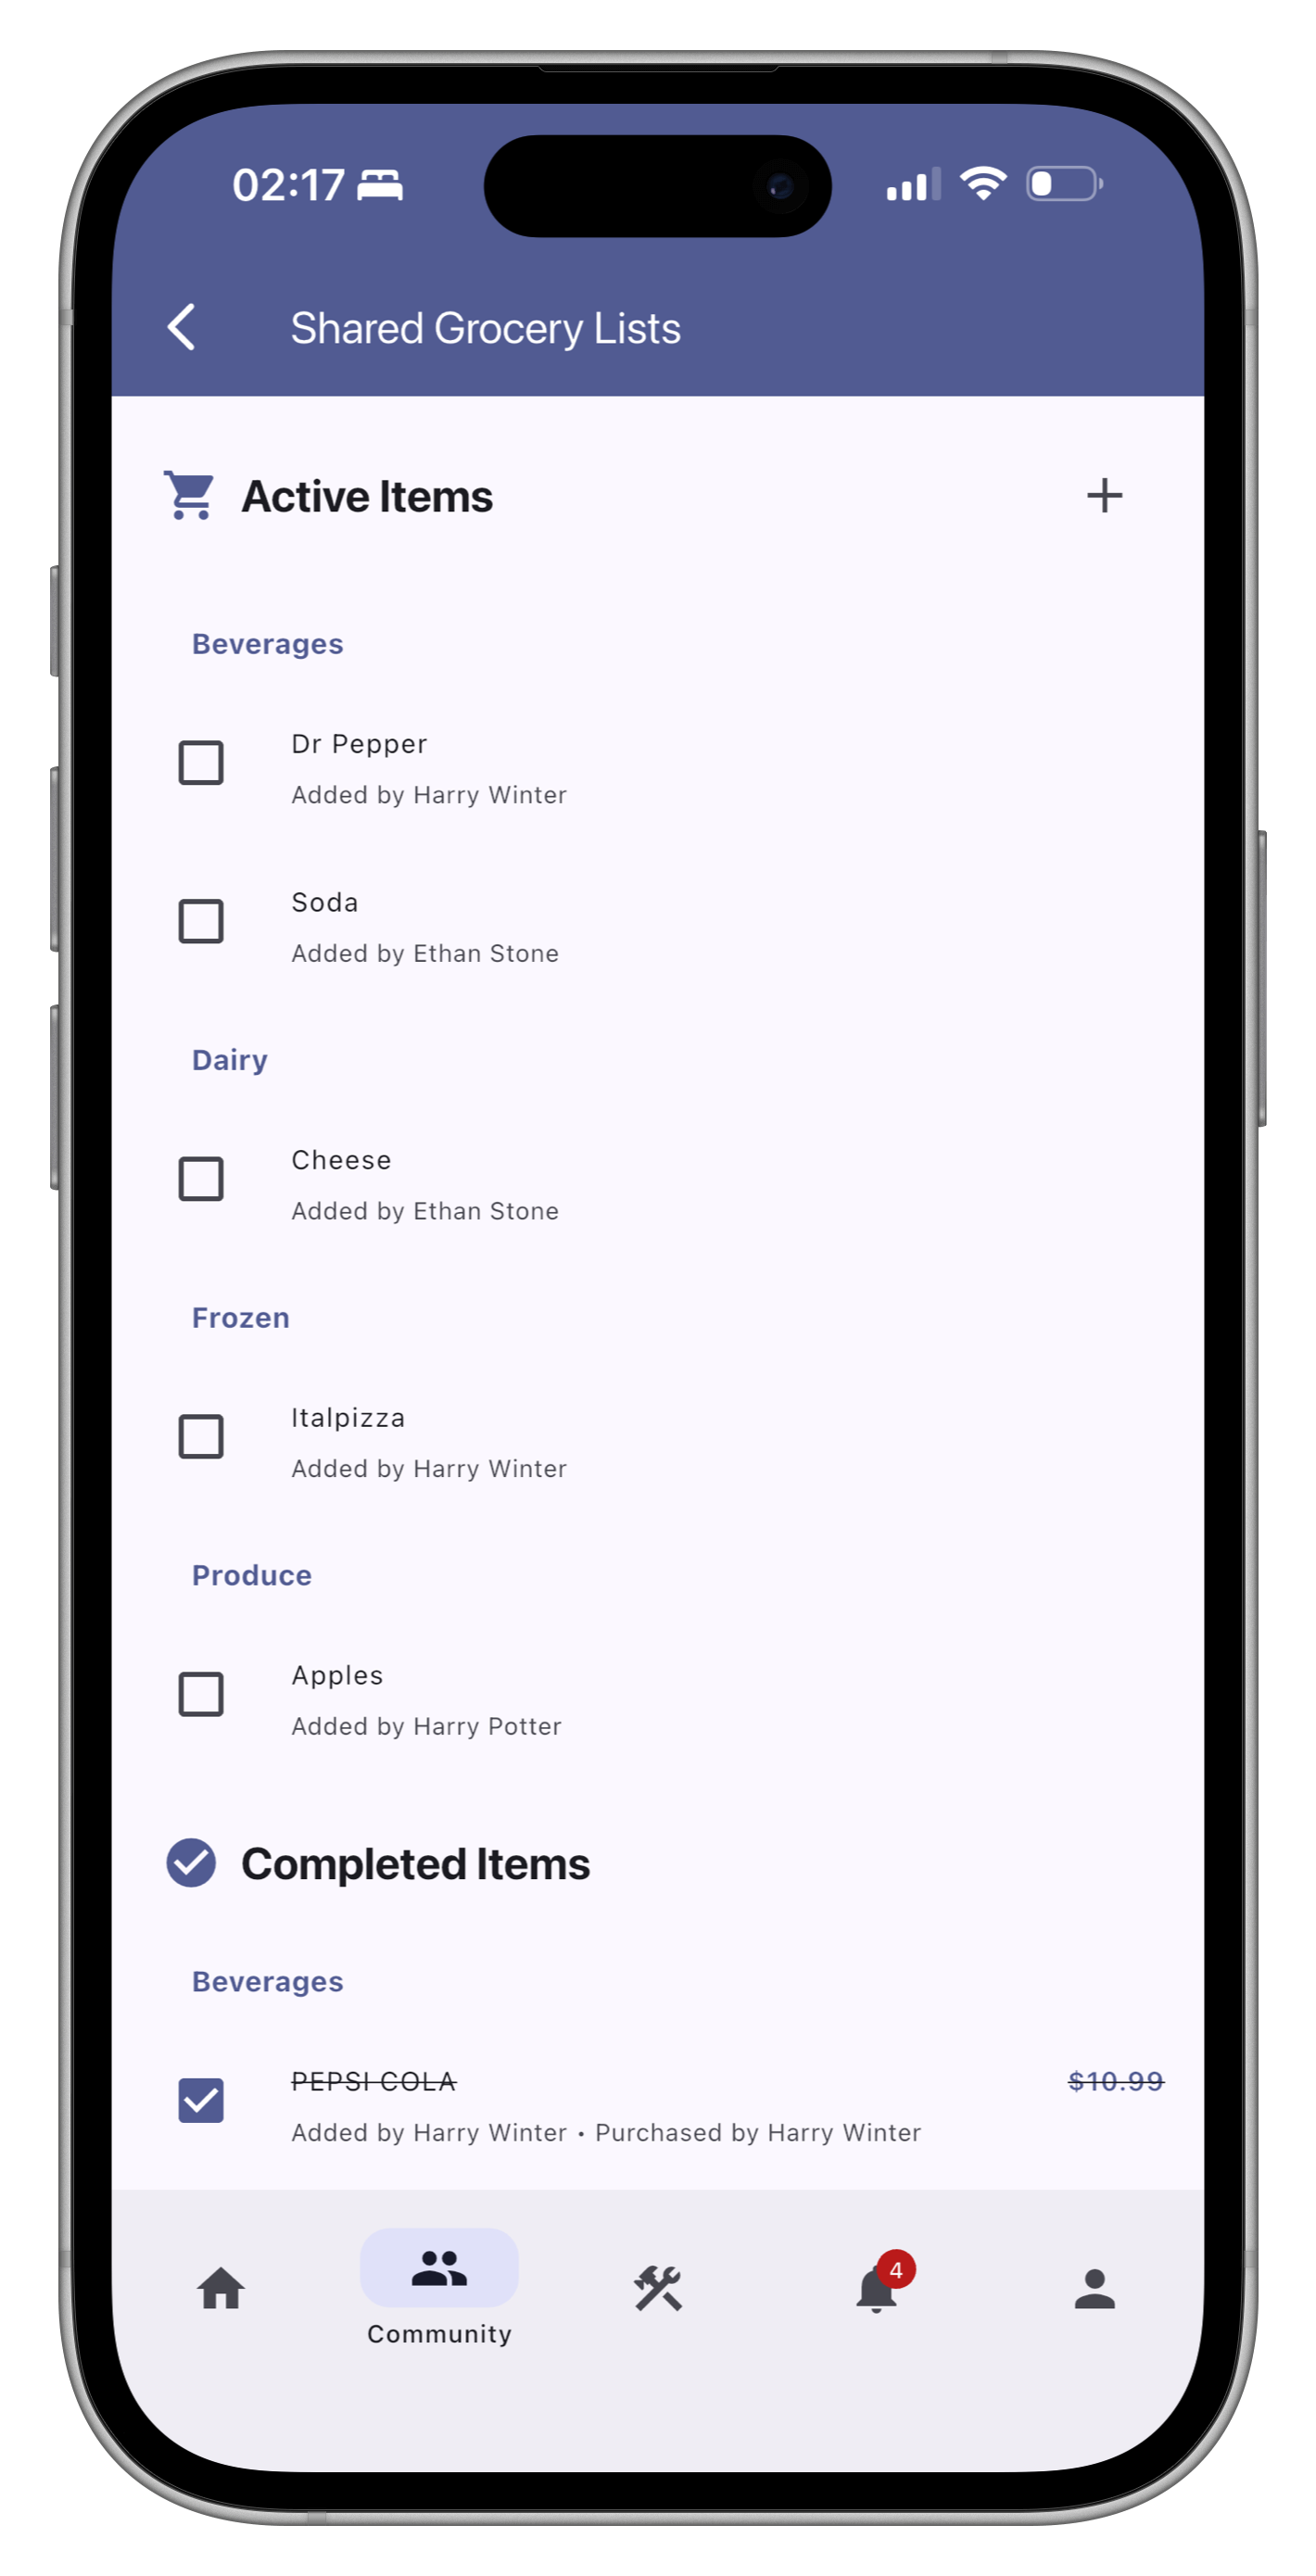
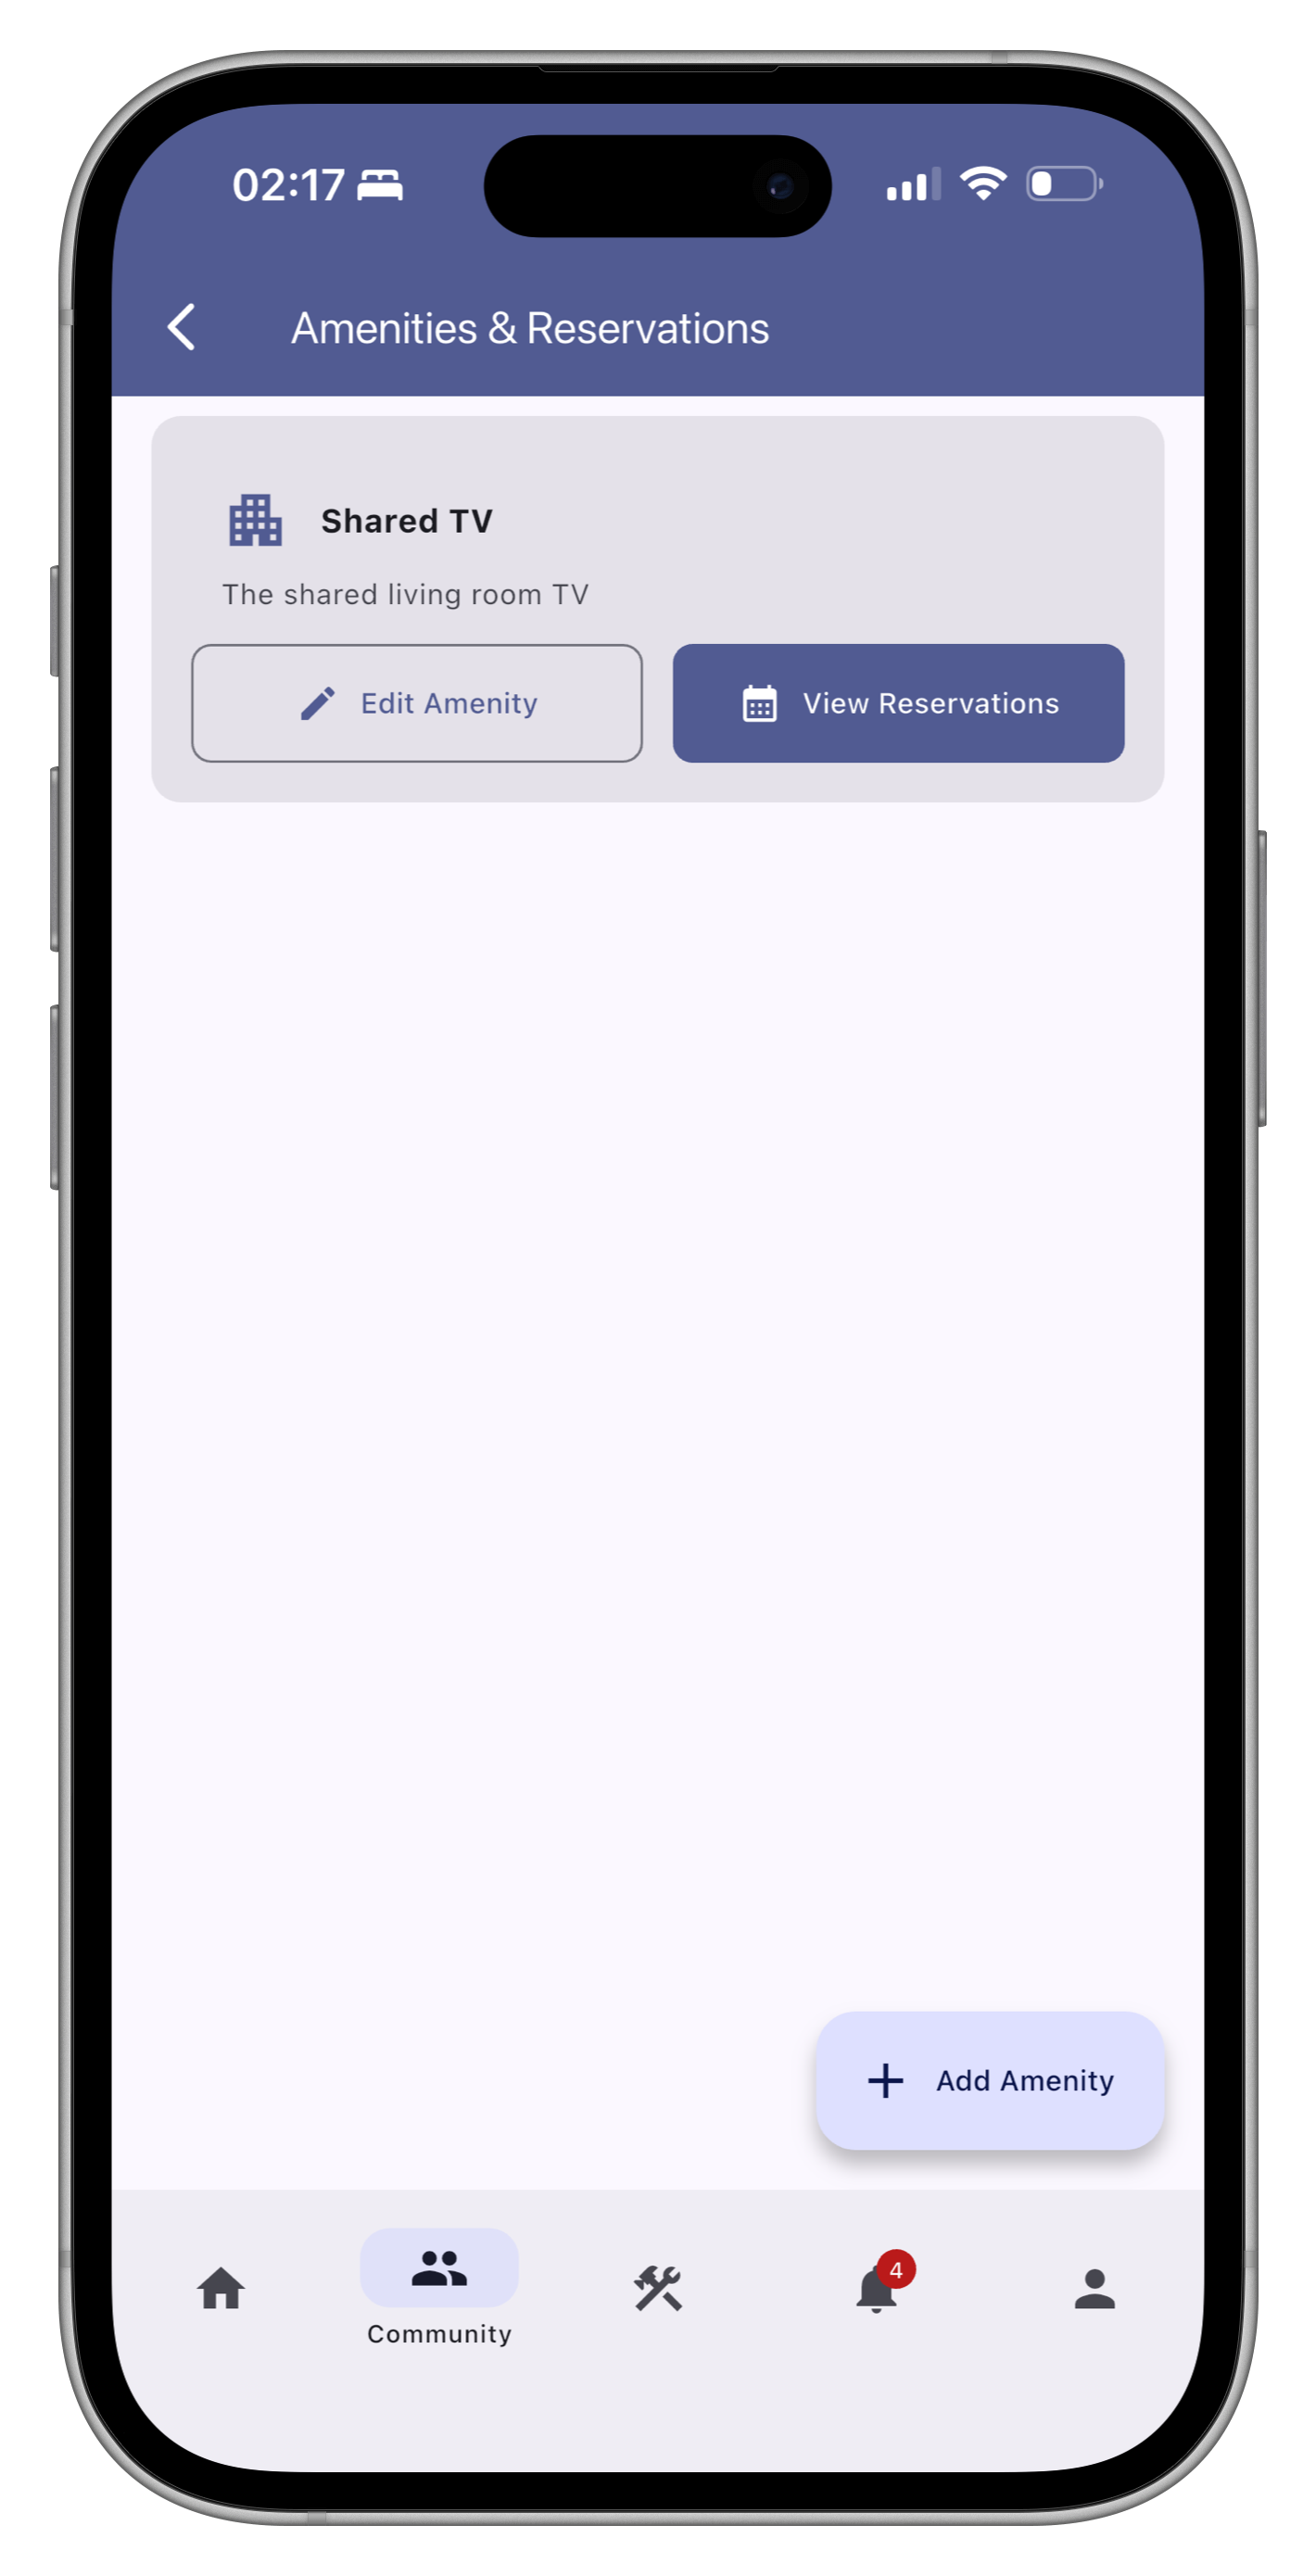
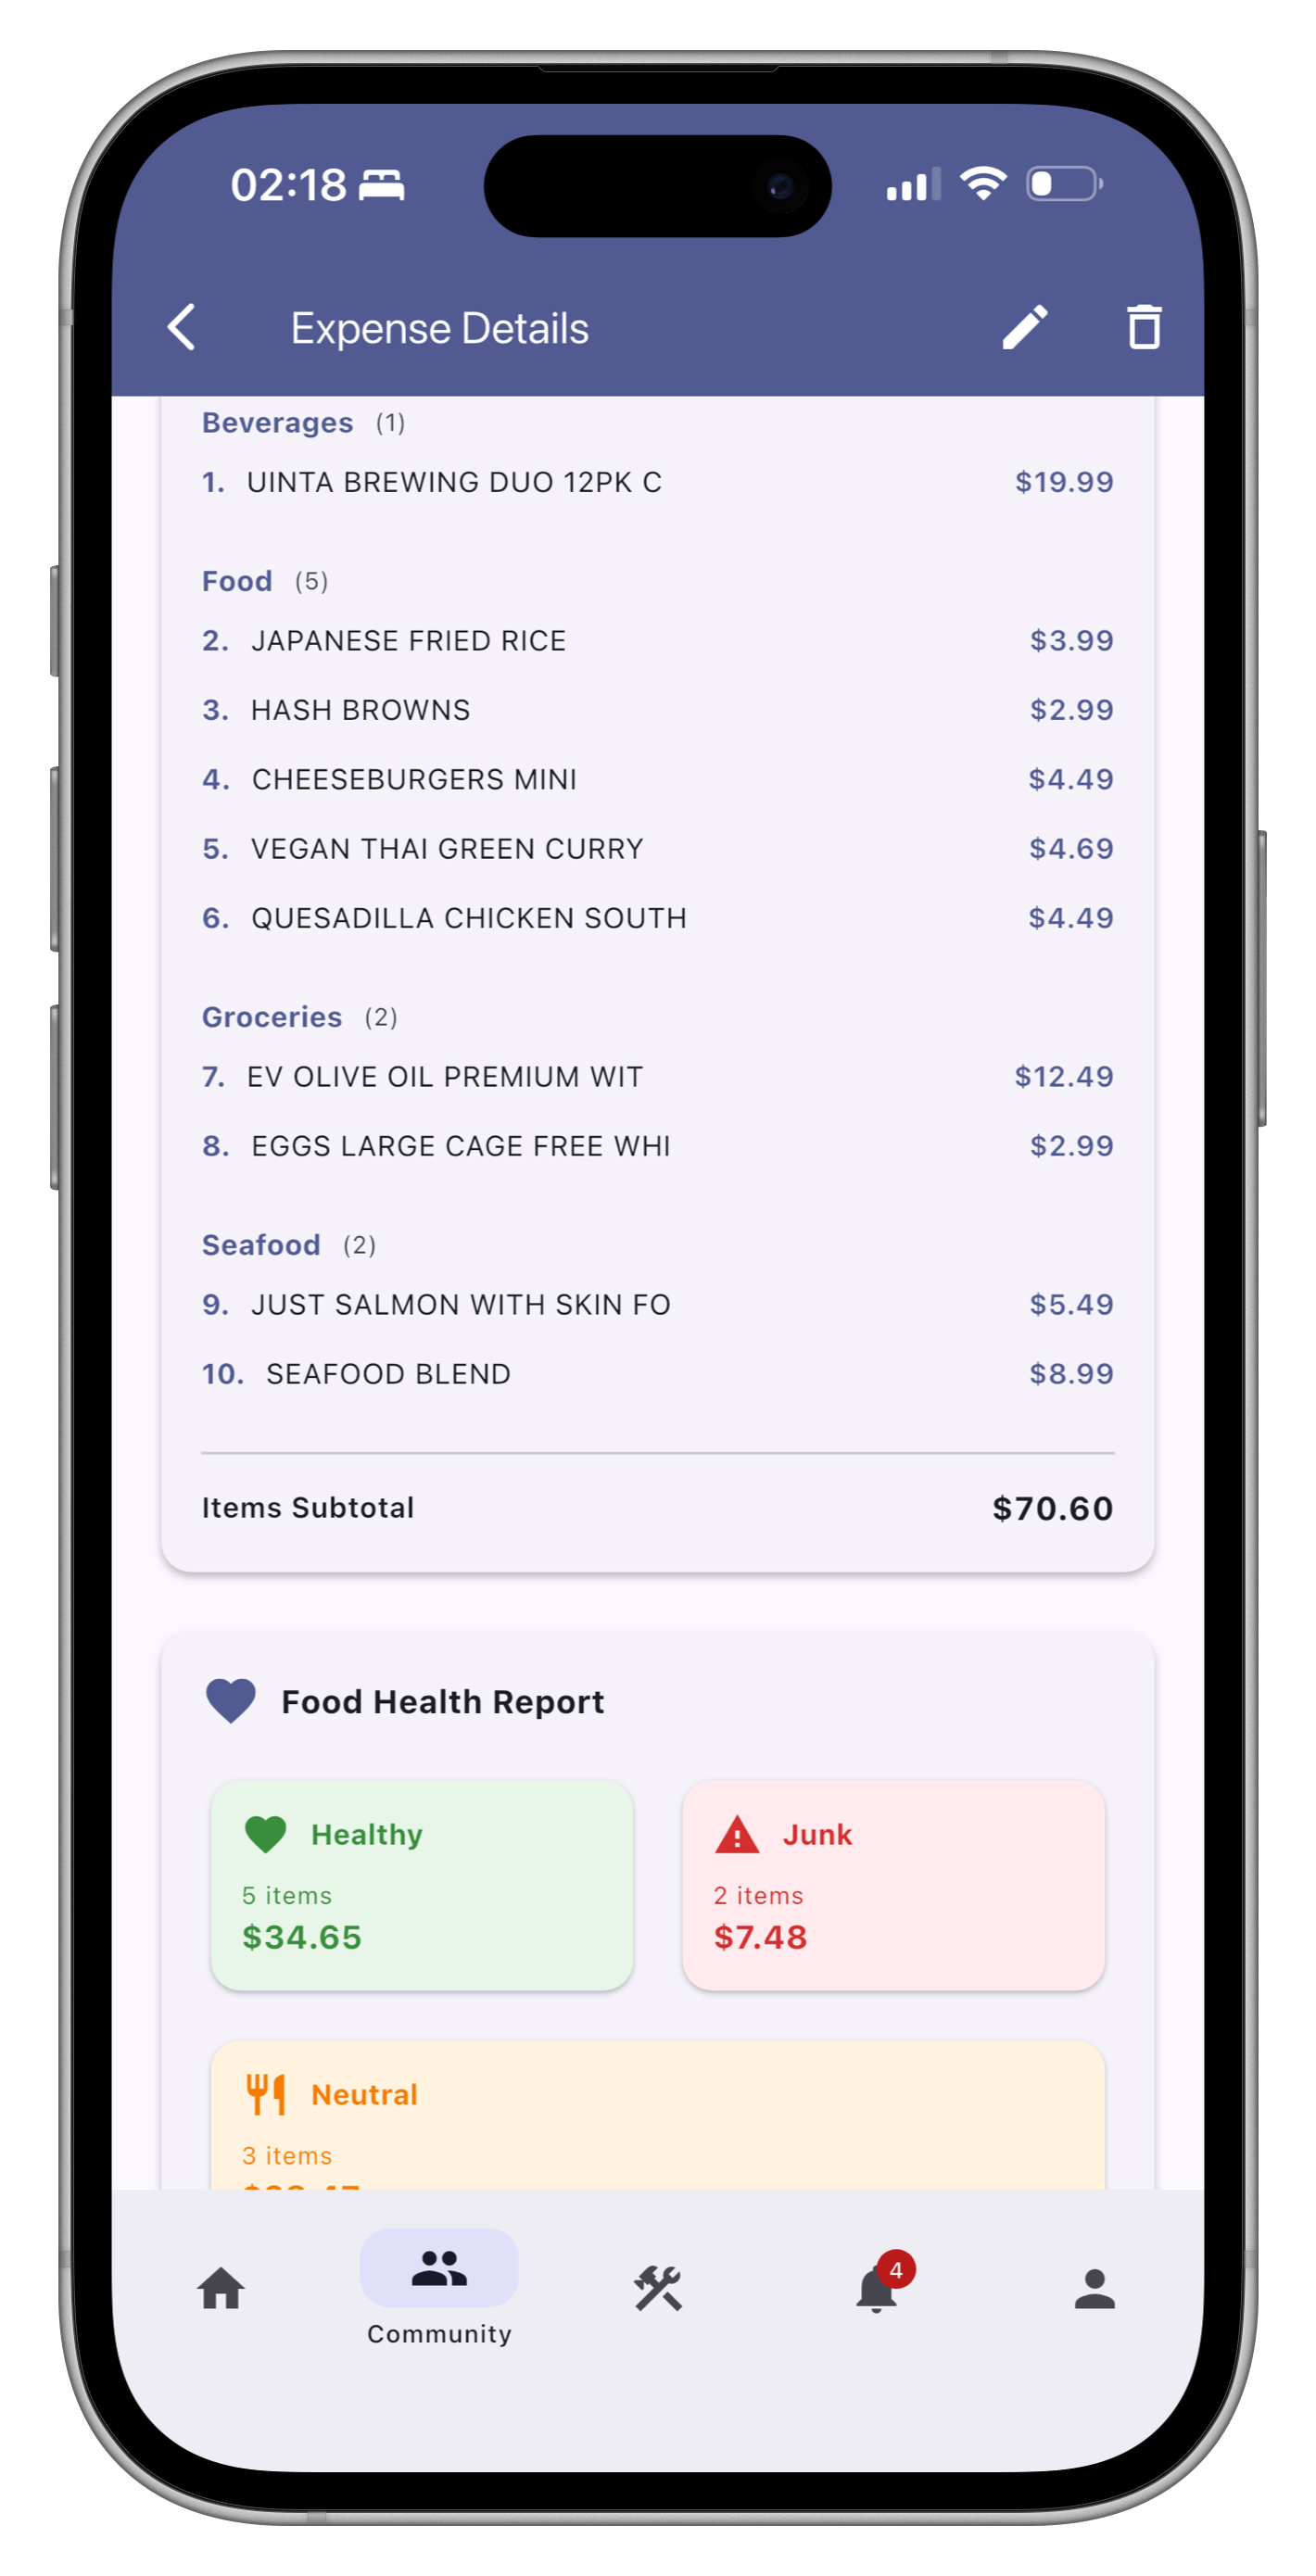
The Community tab helps roommates coordinate daily life:
Download Roof and simplify your property management today